Full credit to SilentMunk – a user from Discord for this article
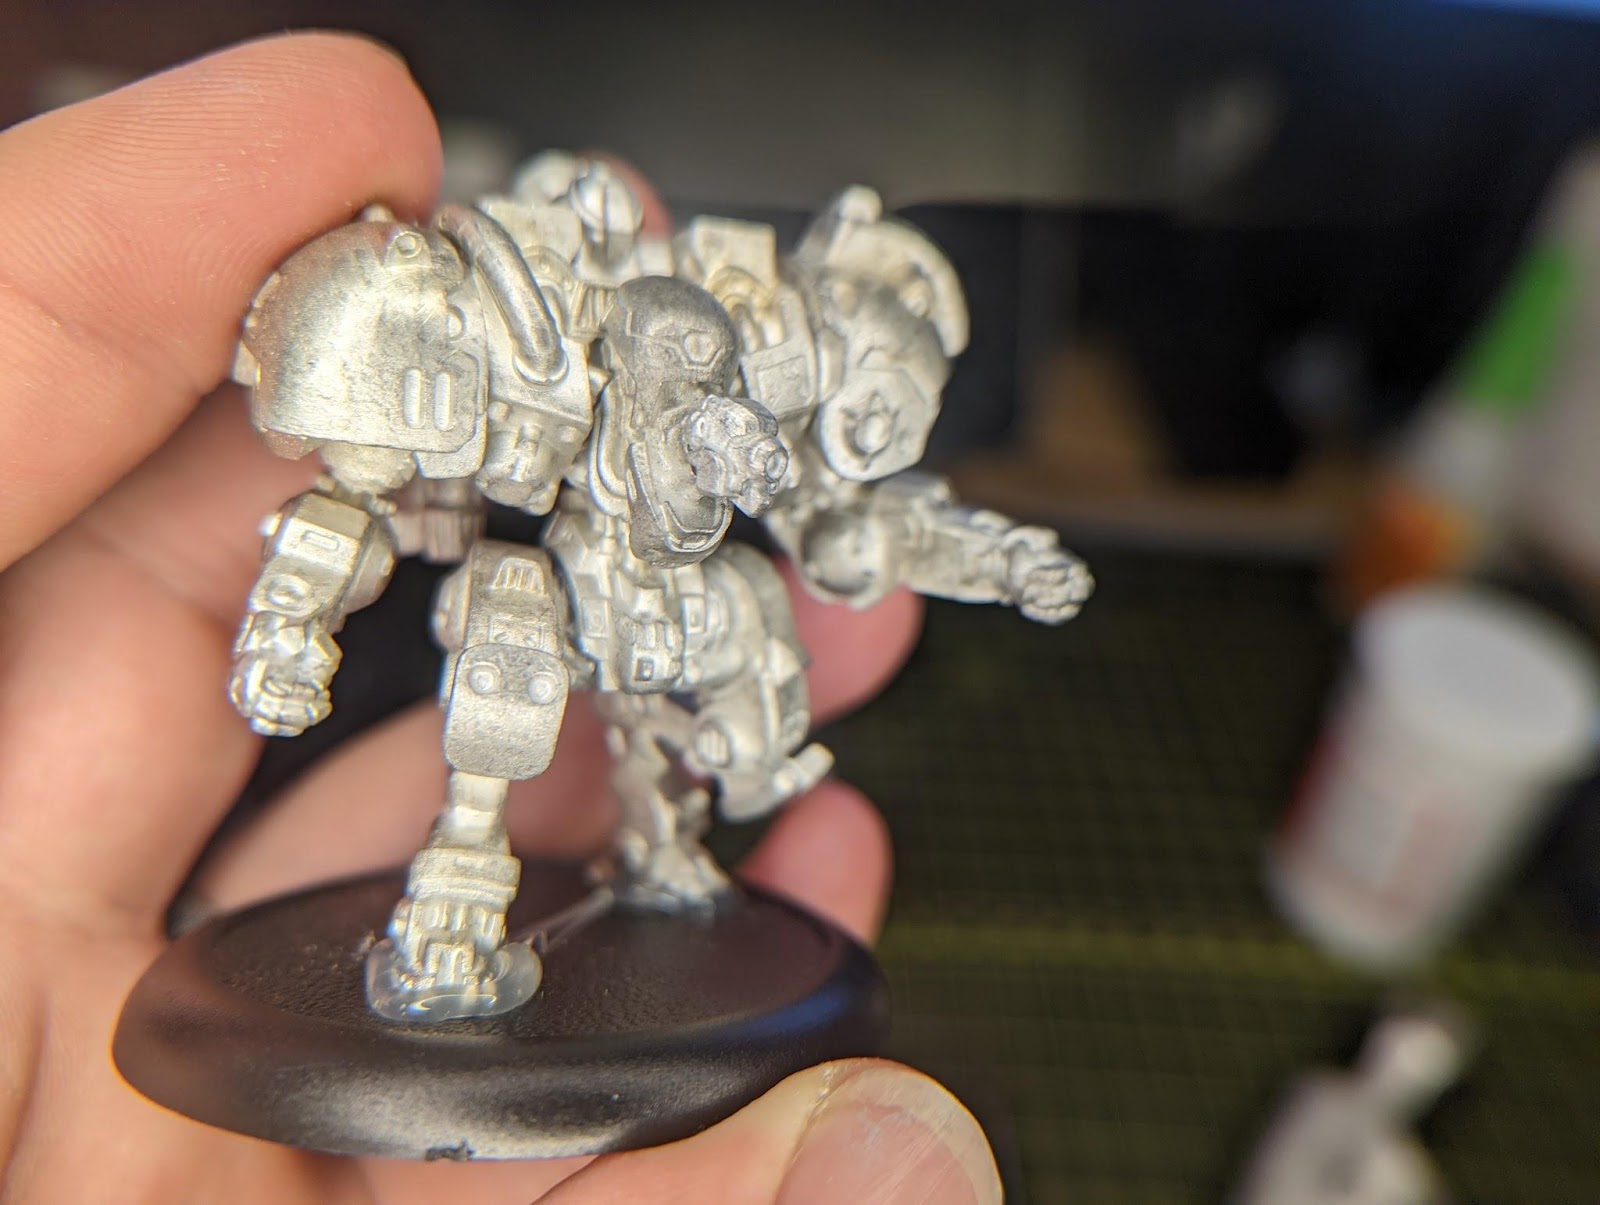
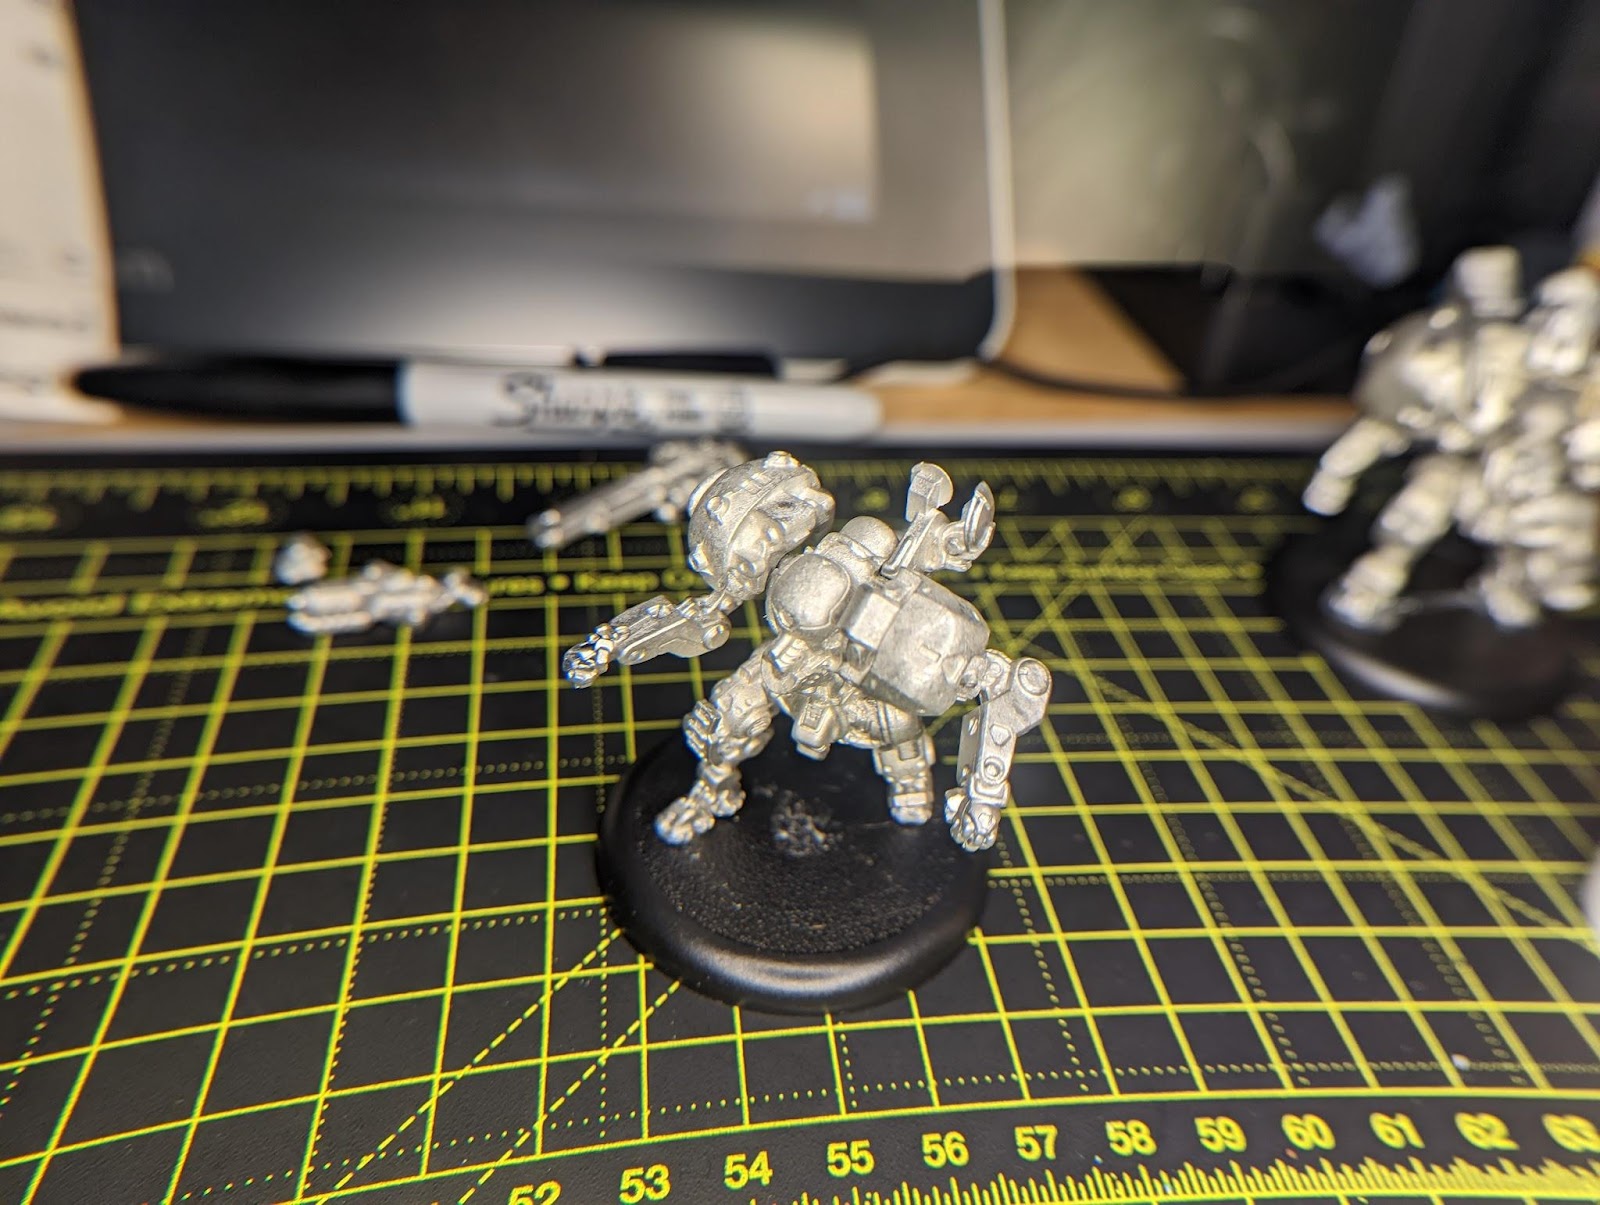
For those of us who play other Privateer Press games at the moment, we can look forward to avoiding the problem I hope to address in this article. But for now, we have a conundrum on our hands in how to go about magnetizing our new-age warjacks. Within this article, I will bring my method and some tips and tricks for how to magnetize heads and weapons on warjacks and vehicles for Warcaster Neo-Mechanika. For this demonstration, I will be utilizing a Marcher World’s Strike Raptor to illustrate how I go about avoiding hand strain while magnetizing my ‘jacks.
To begin with, I have a list of tools and supplies I recommend for this process:
- Pin vise with 2mm drill bit
- 2mm diameter circular rare-earth magnets
- Super glue
- Magnet polarity tool
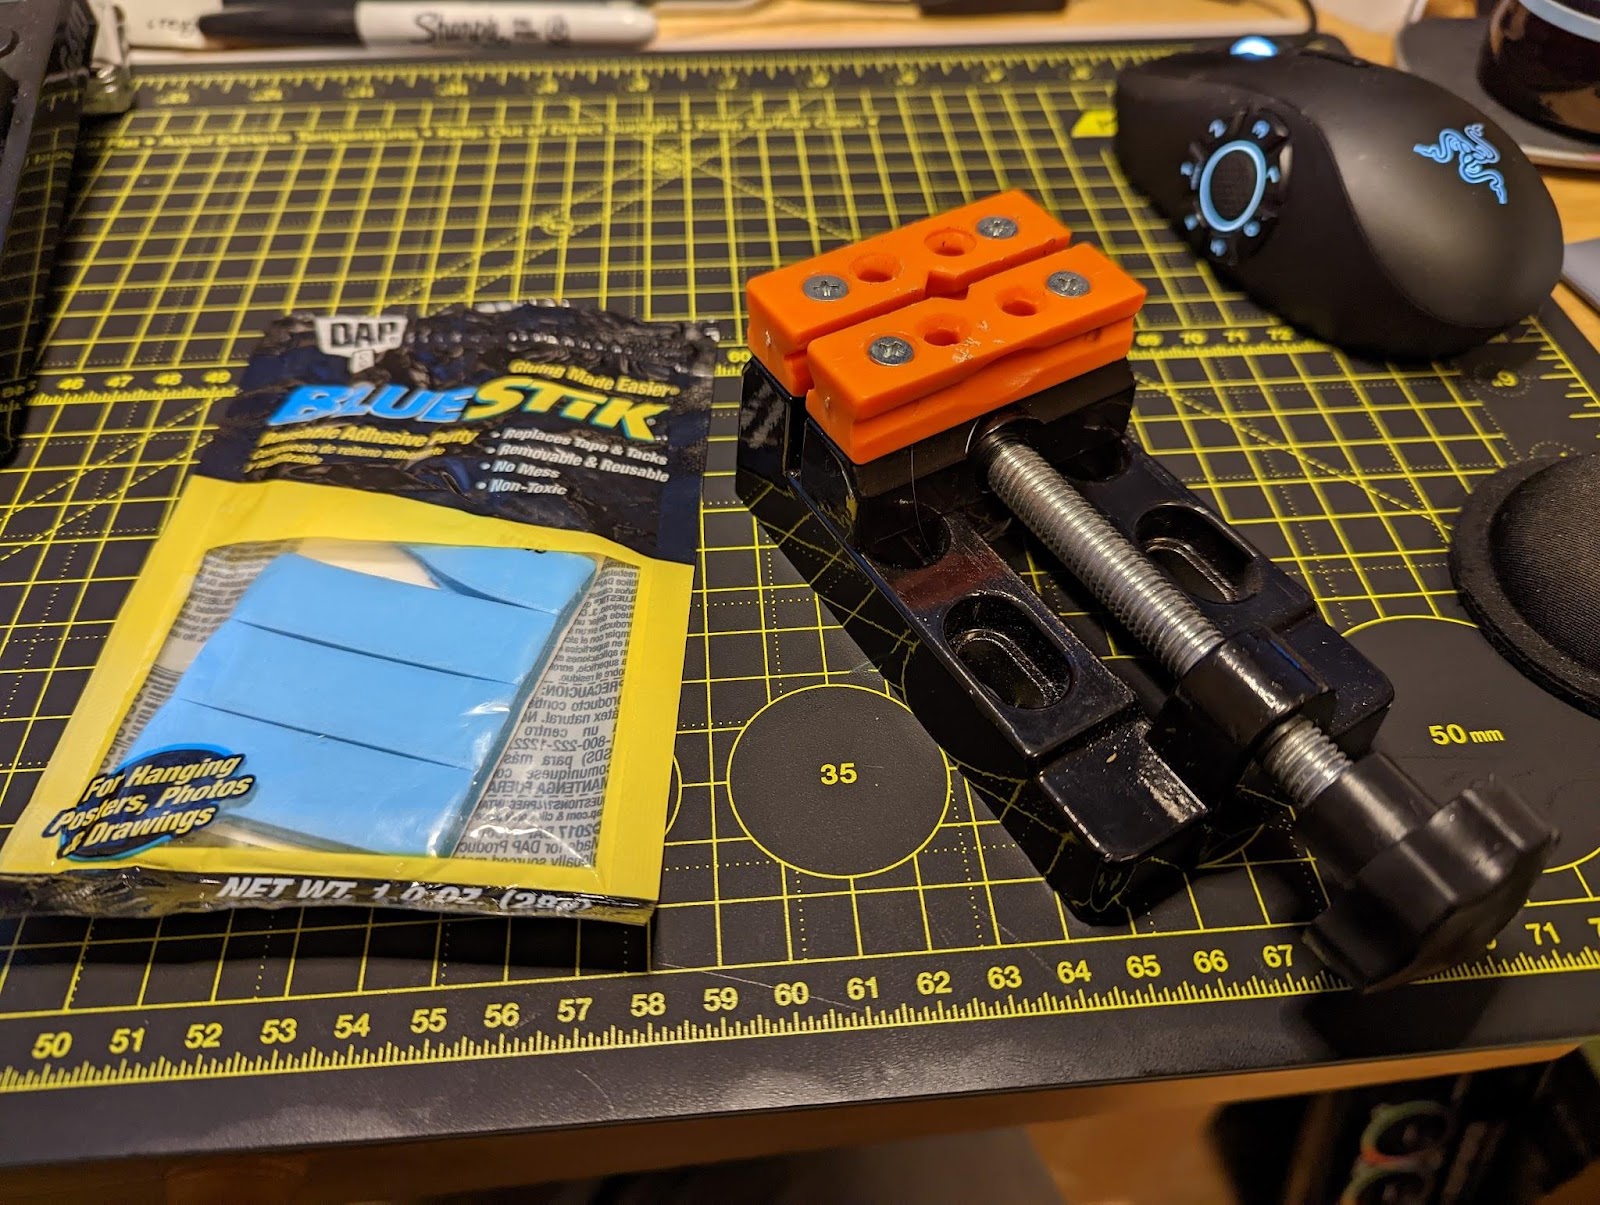
- Jeweler’s vice
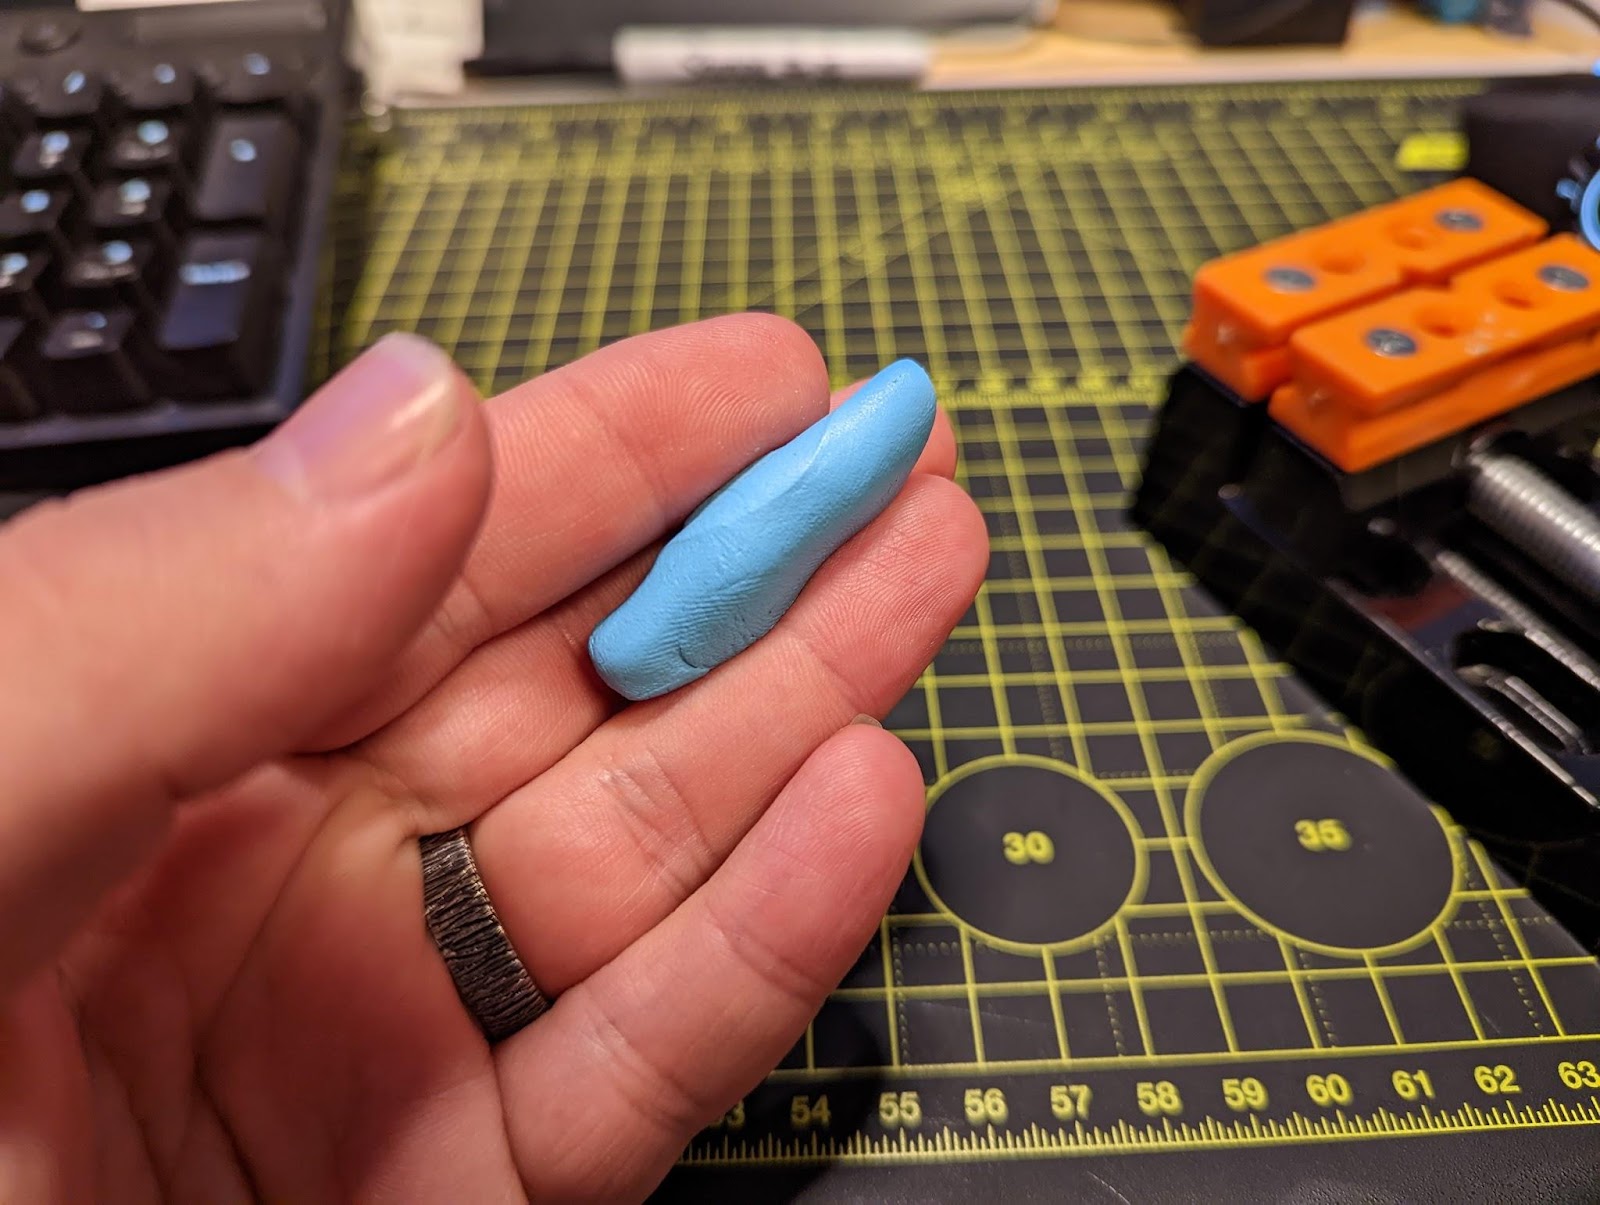
- Poster tack
- Center punch and hammer
This process is adapted from my former experience as a CNC machinist for university labs. That being said, this collection of tools does not come with the matching price tag of that shop! All said and done, I believe all these tools come in to under $100usd. The only tools I did not already have from other hobbying were the jeweler’s vice ($10 from Amazon, and the secret sauce of this method) and the magnetic polarity tool. I prefer a center punch and hammer, but I know some have been able to drill a pilot hole sufficiently well by spinning a hobbyist knife in place.
Surprising amounts of precision work can be done by hand, and a soft-jawed vise and center punch. To begin with our use of them as a modeling tool, take your poster tack and apply a large amount of it to the jaws of the jeweler’s vice to provide a soft but grippy interface for the parts we will need to grip and drill.
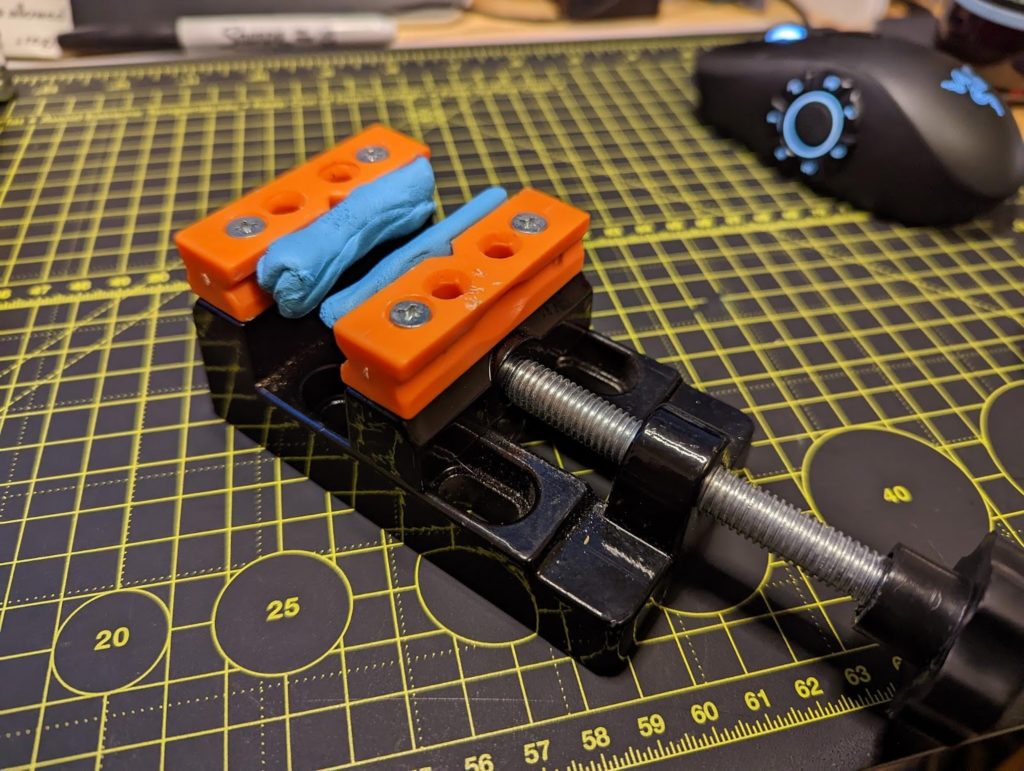
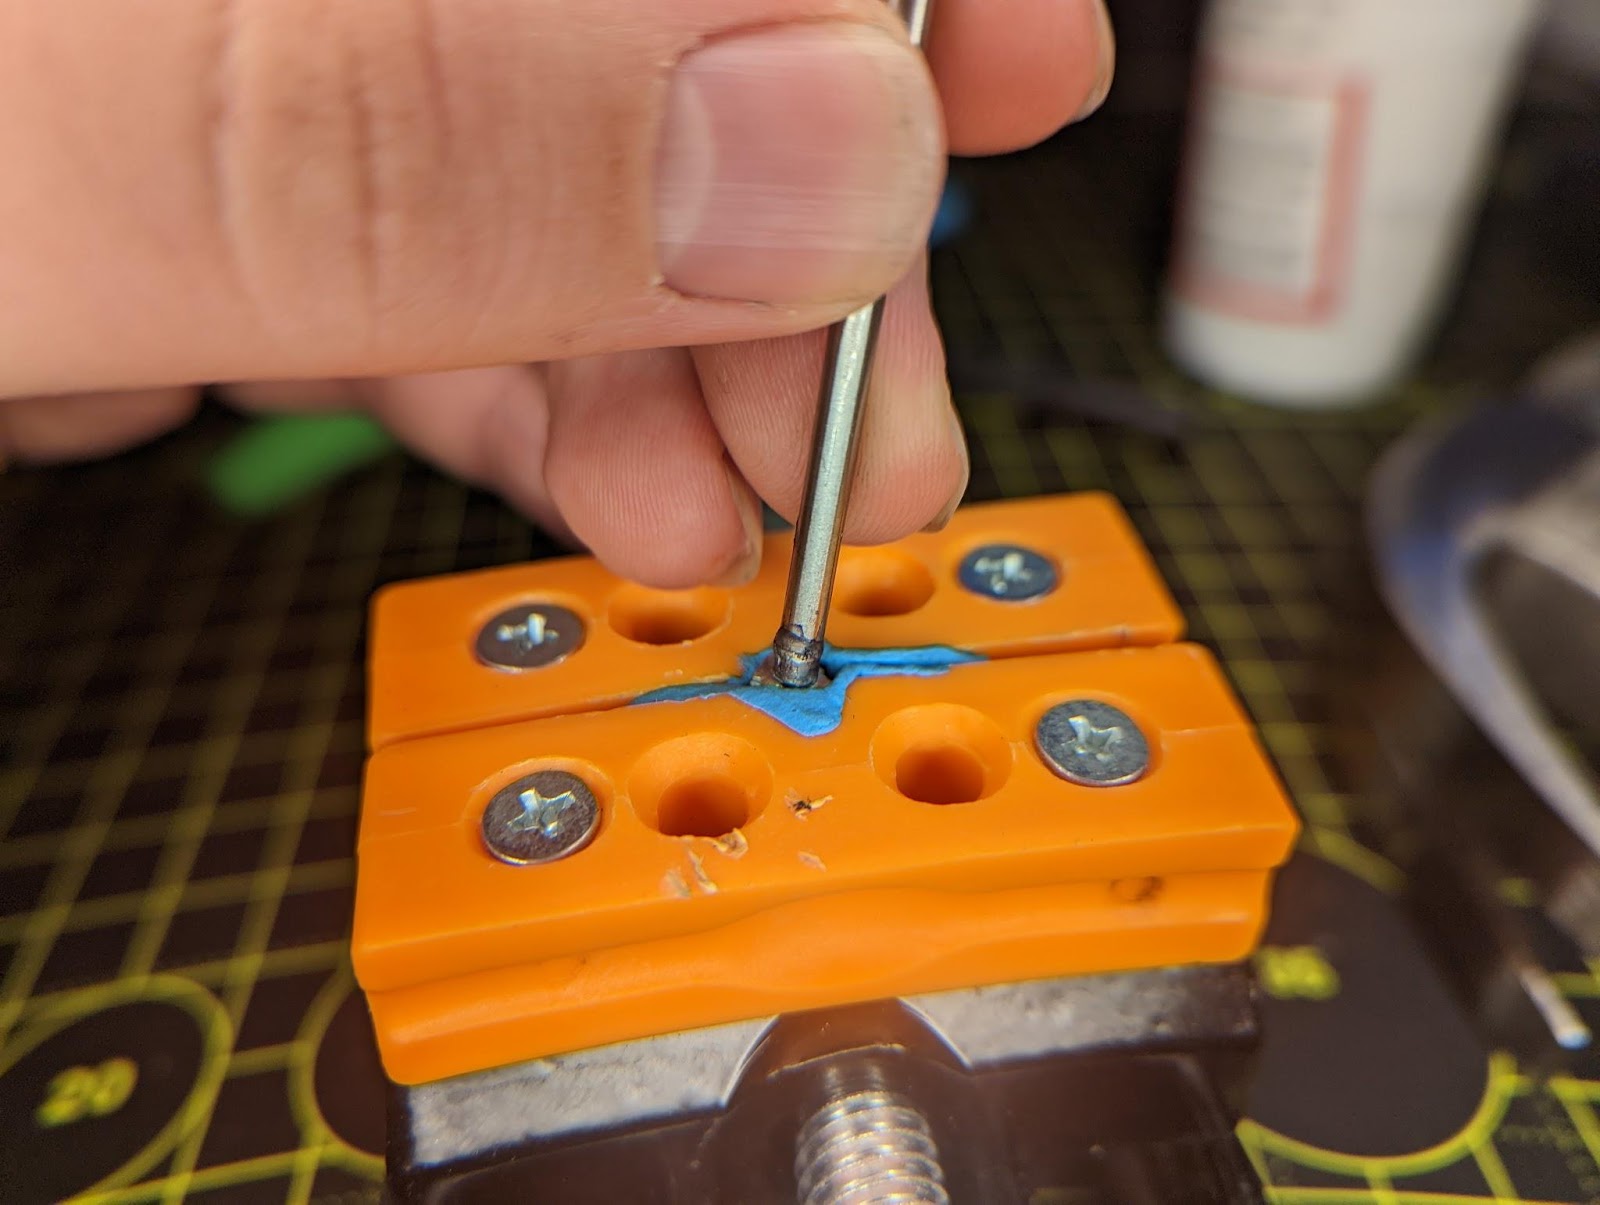
Next we affix our weapon or head within the jaws of the vise. This is a very crucial step where we need to ensure that there is enough pressure from the vise to hold the part in place, while not too much pressure such that the part is bent. This is the true purpose of the poster tack, both to prevent bending of the part as well as firm enough hold not to lose the part while you punch the starter hole.
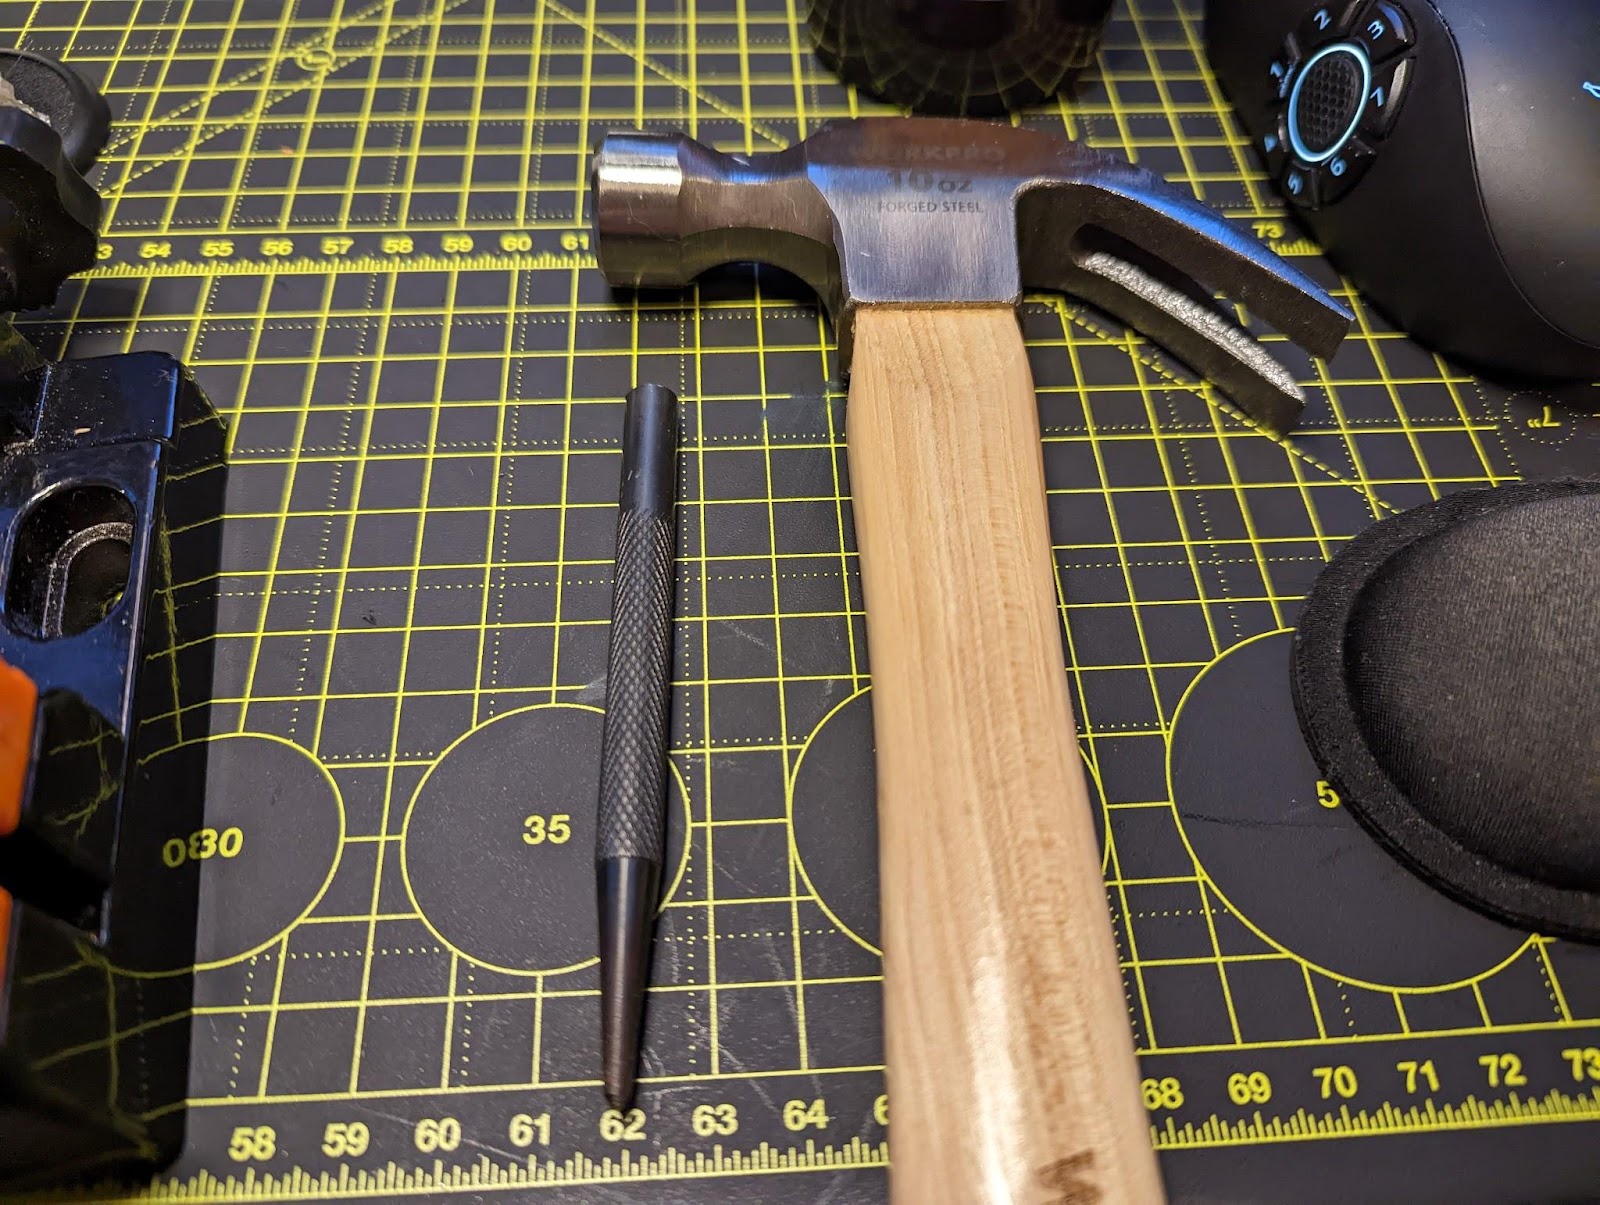

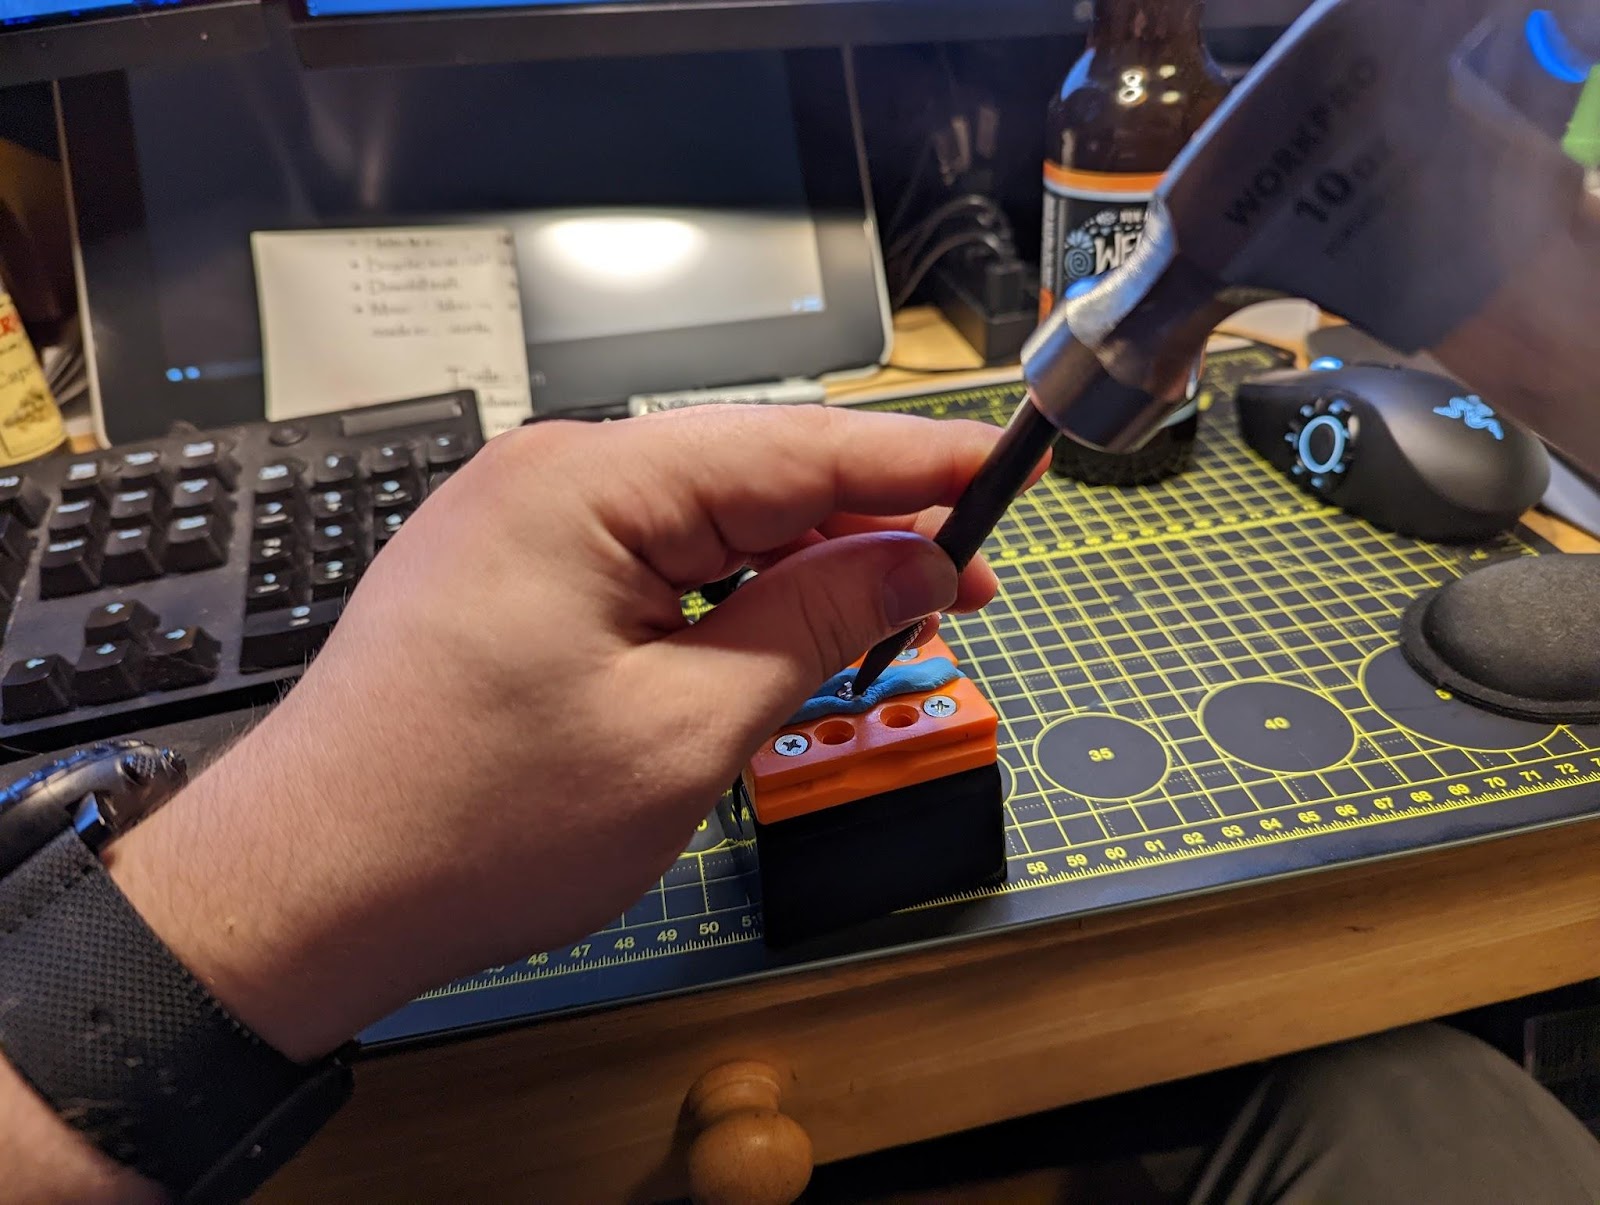

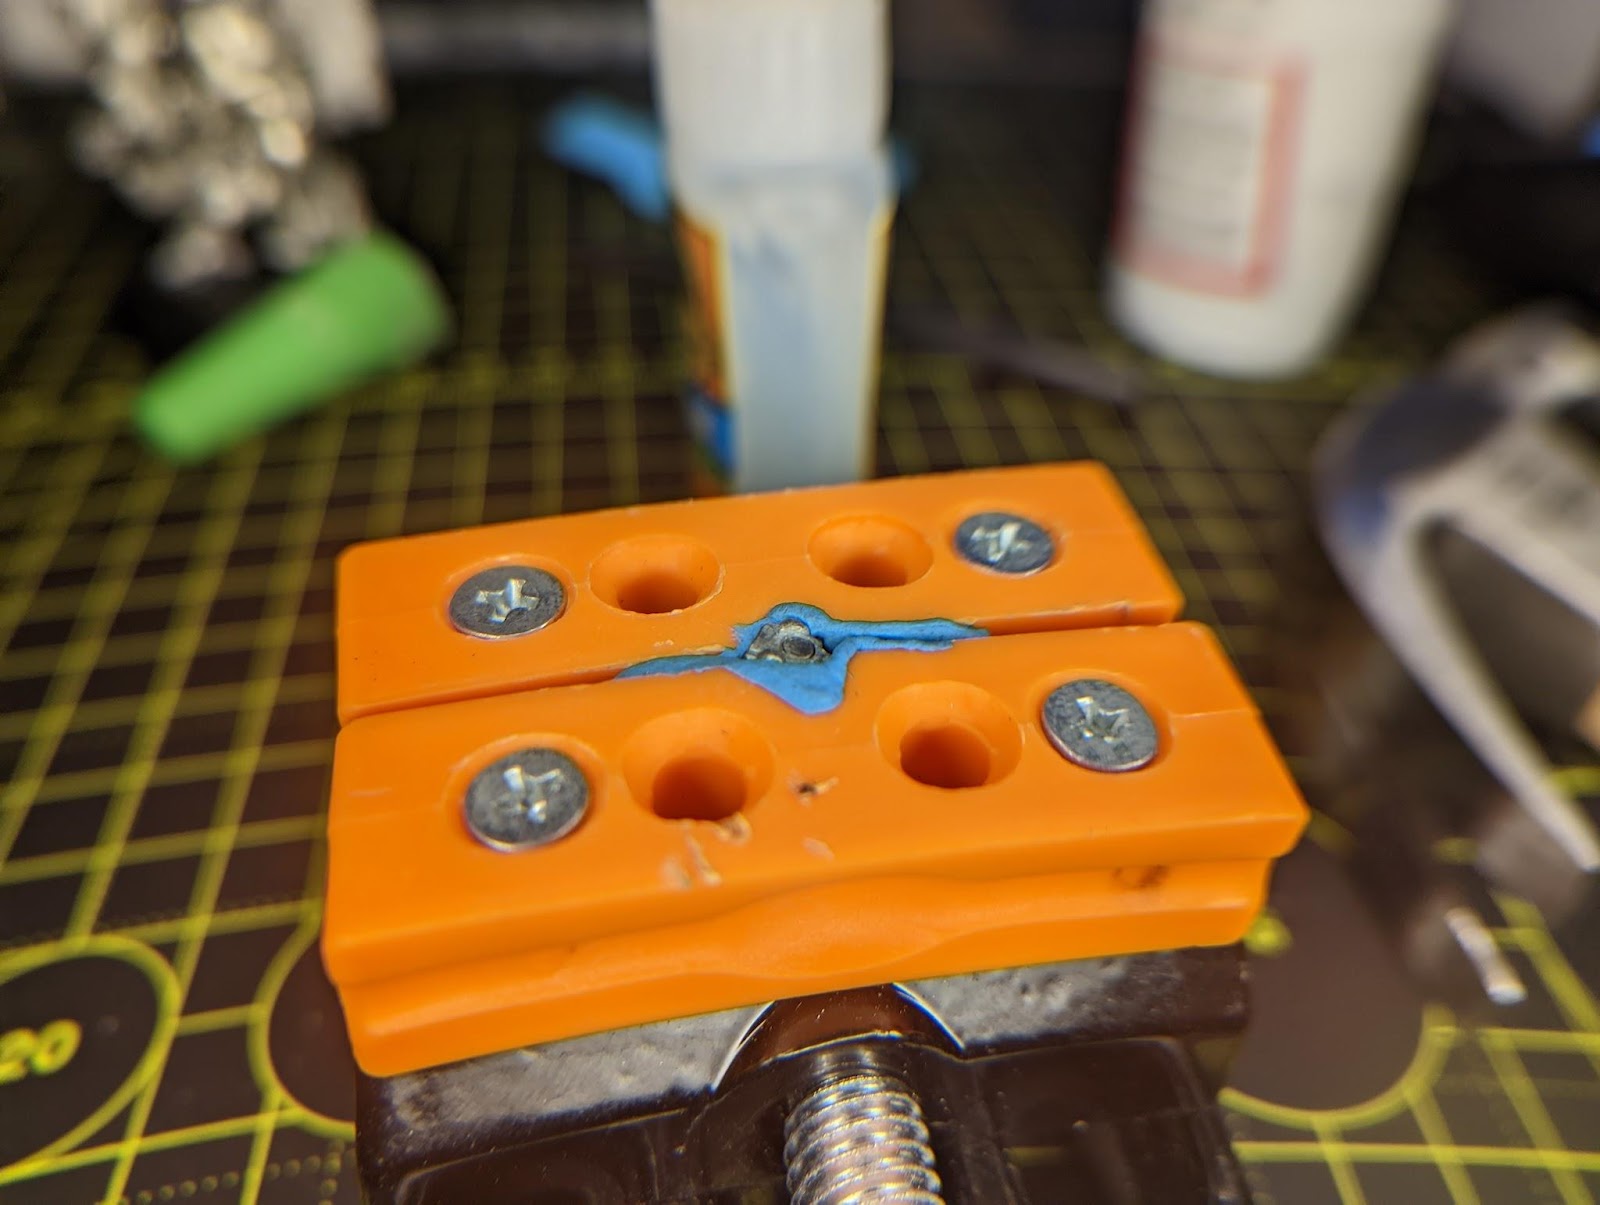
Once the part is in place, the next step is arguably the most crucial step of this whole process, the punching of the starter pit for our magnet hole. You can think of this process as priming for drilling. Essentially we need to create a small pinhole dent using the punch. The purpose of this dent or pit is to catch the very tip of our 2mm drill bit later, and prevent the drill from wandering about as we begin drilling the hole for our magnets. This is a very good time to be sure of where you want the hole to be, and to be as precise as possible with this punch such that you can have very precise magnet positioning. Place the tip of the center punch exactly where you want the hole to be, and tap the dent in by tapping the back of the punch with the hammer.

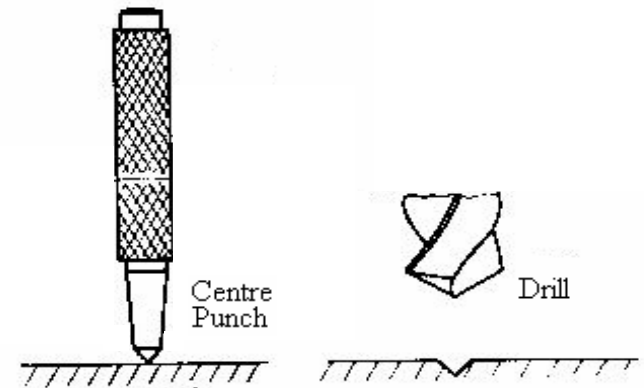
This is essentially a cross-section diagram of what we’re hoping to accomplish.
So as such, the next step is simply to use the pin vise and drill the hole for your magnet. Here, I’m using a Tamiya motorized pin vise that I like. It’s relatively cheap, and geared low enough to cut just fine through metal, despite its mostly plastic construction. However, just about any pin vise will do. Drill as deep as you need to such that the magnet will sit flush with the surface. Regularly changing out your dull drill bits for sharp ones will make this much easier as well. I had to adjust the amount of poster tack I was using to enable better grip on the head I was drilling. You’ll also notice the magnet sits a little low at the moment. That is okay, as there will be a little room for glue, and I have a trick with my polarity tool to make sure my magnet sits flush.
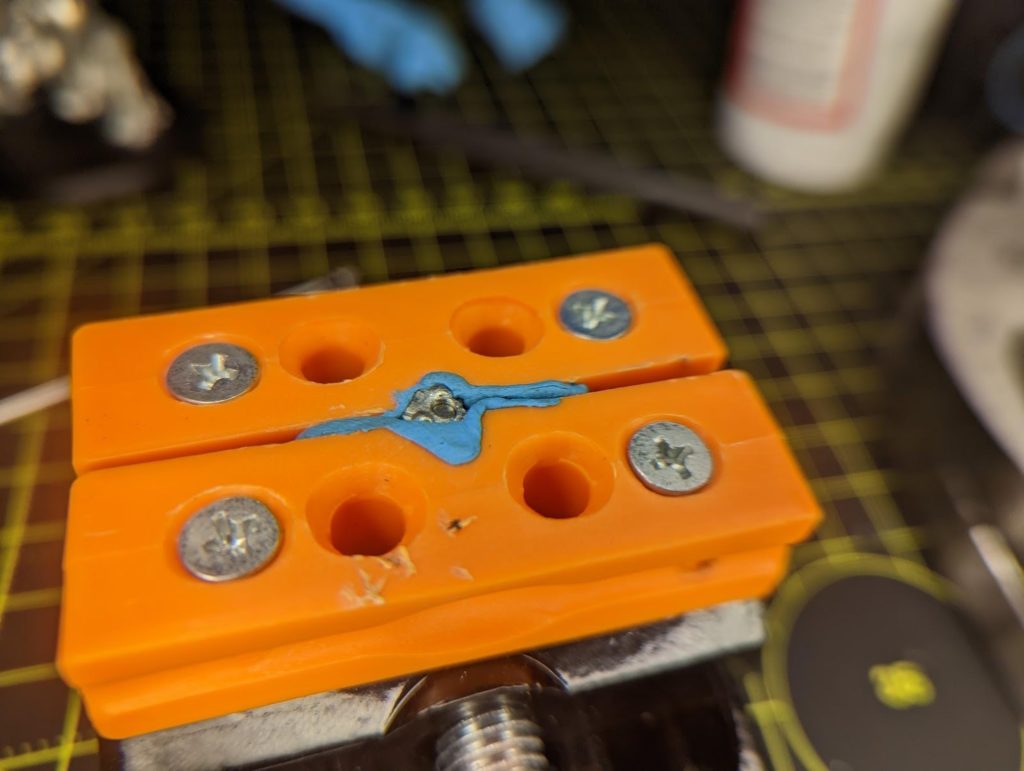
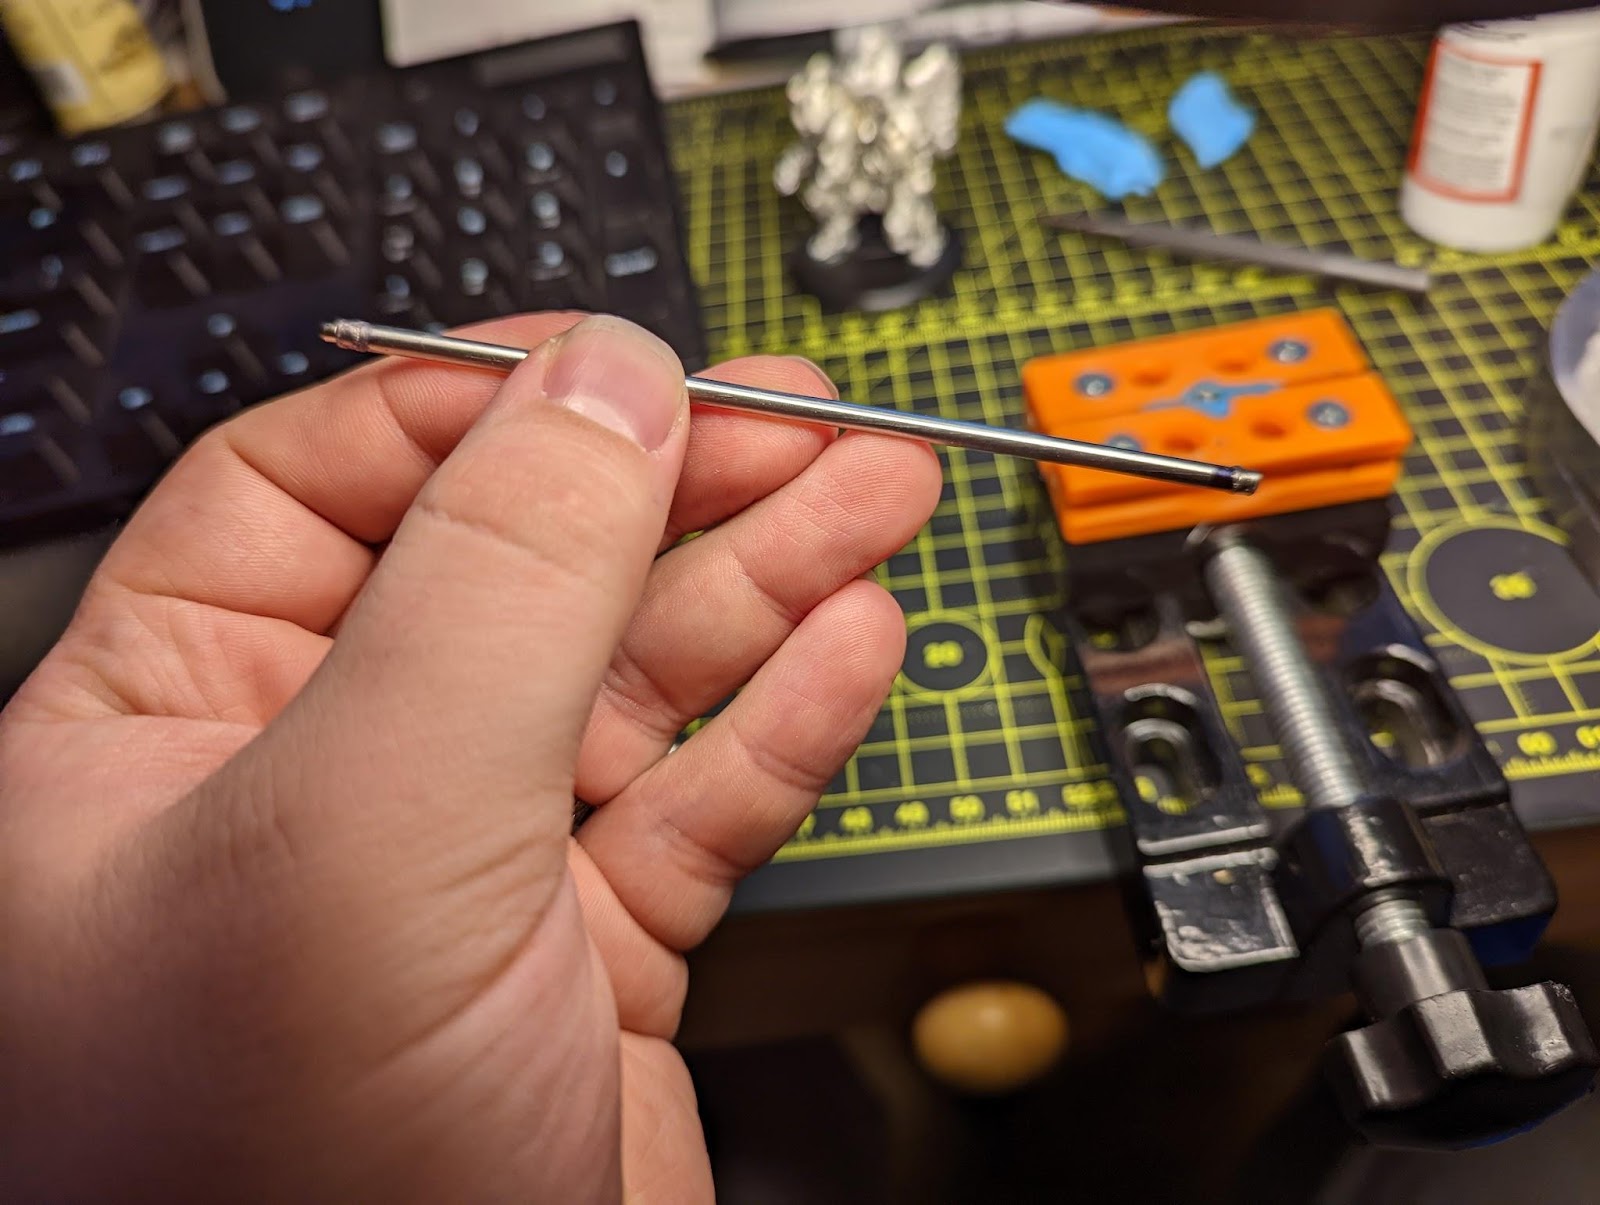
From here we go ahead and glue in our magnet. It is important to create a magnet polarity tool such that all of your attachments maintain the same polarity relative to the body of the ‘jack. Do this by gluing magnets onto the ends of a long rod such that the north pole of one magnet is pointing out one end, and the south pole at the other end. I’ve marked mine with a black Band that’s always pointing towards the Body of the model I’m magnetizing so that I never mistake my polarity. I’ve also made my tool using slightly larger 3mm diameter magnets, such that I can use the tool to make sure the magnet is flush with the top of the hole I’ve drilled as I hold the magnet in place while the glue is drying.
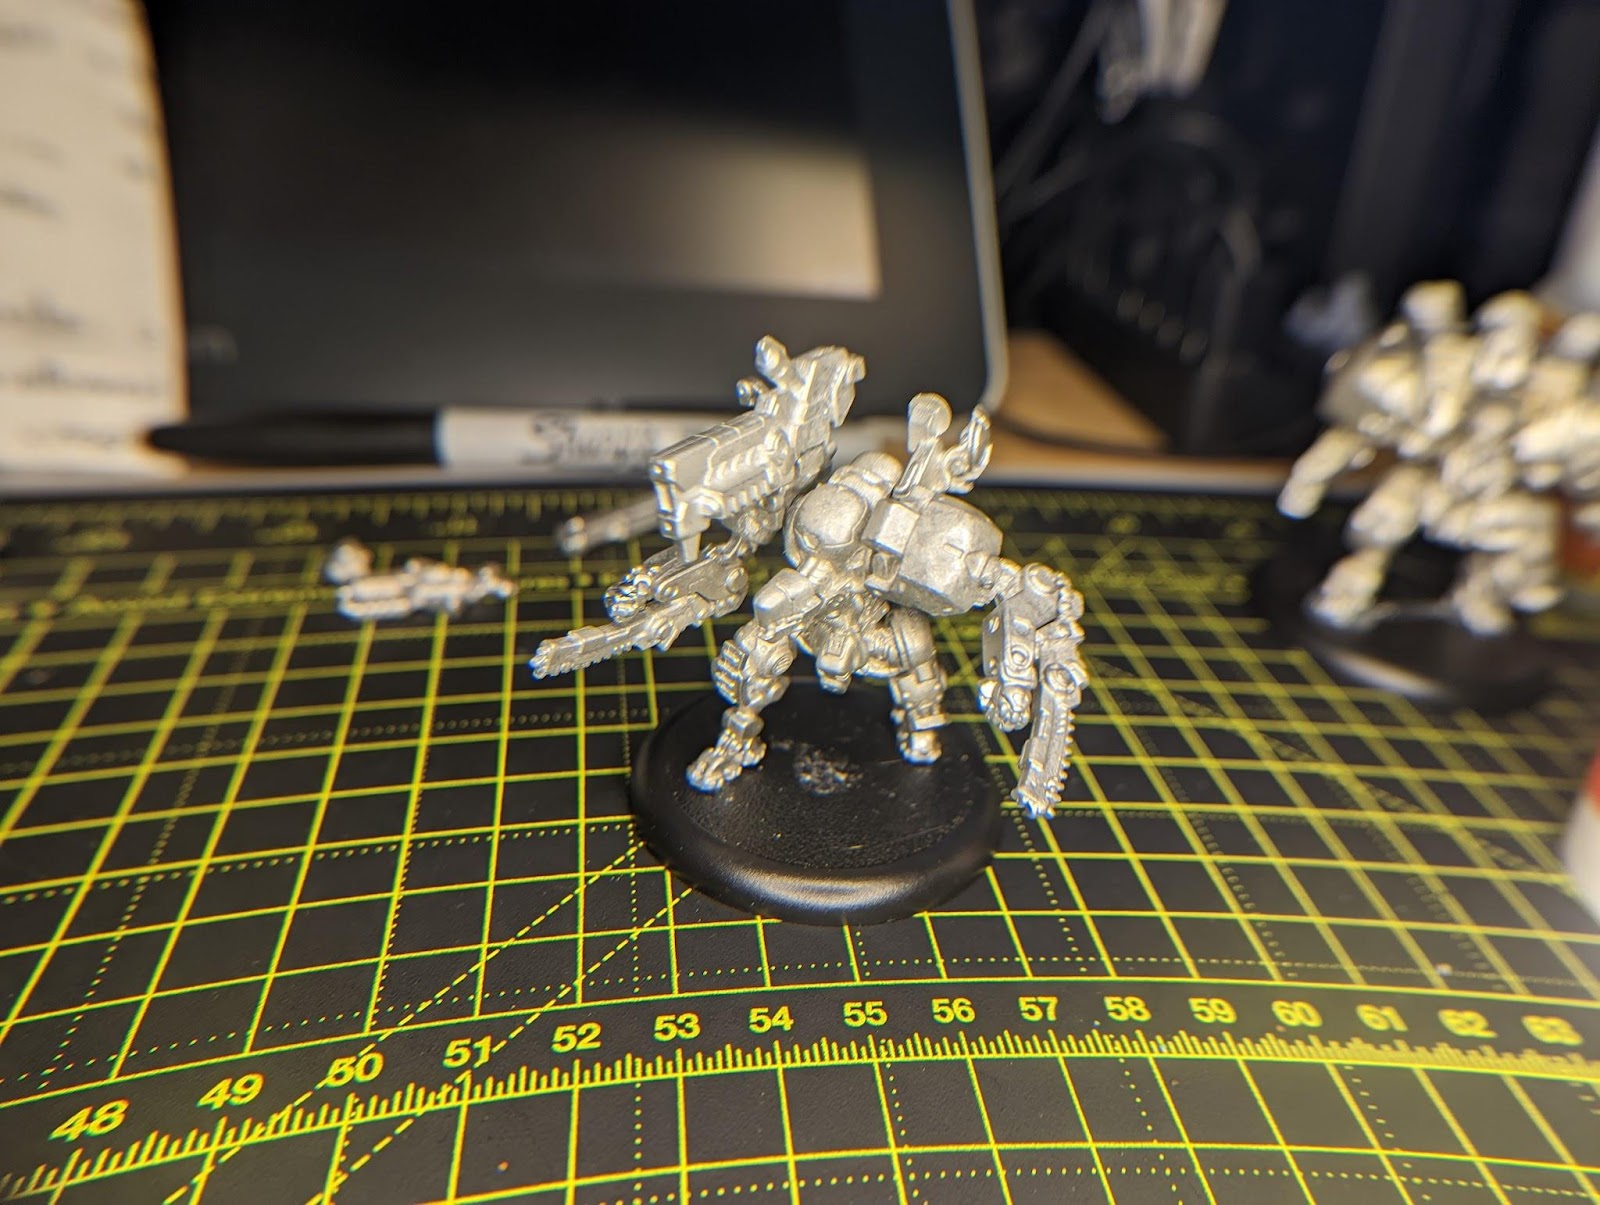
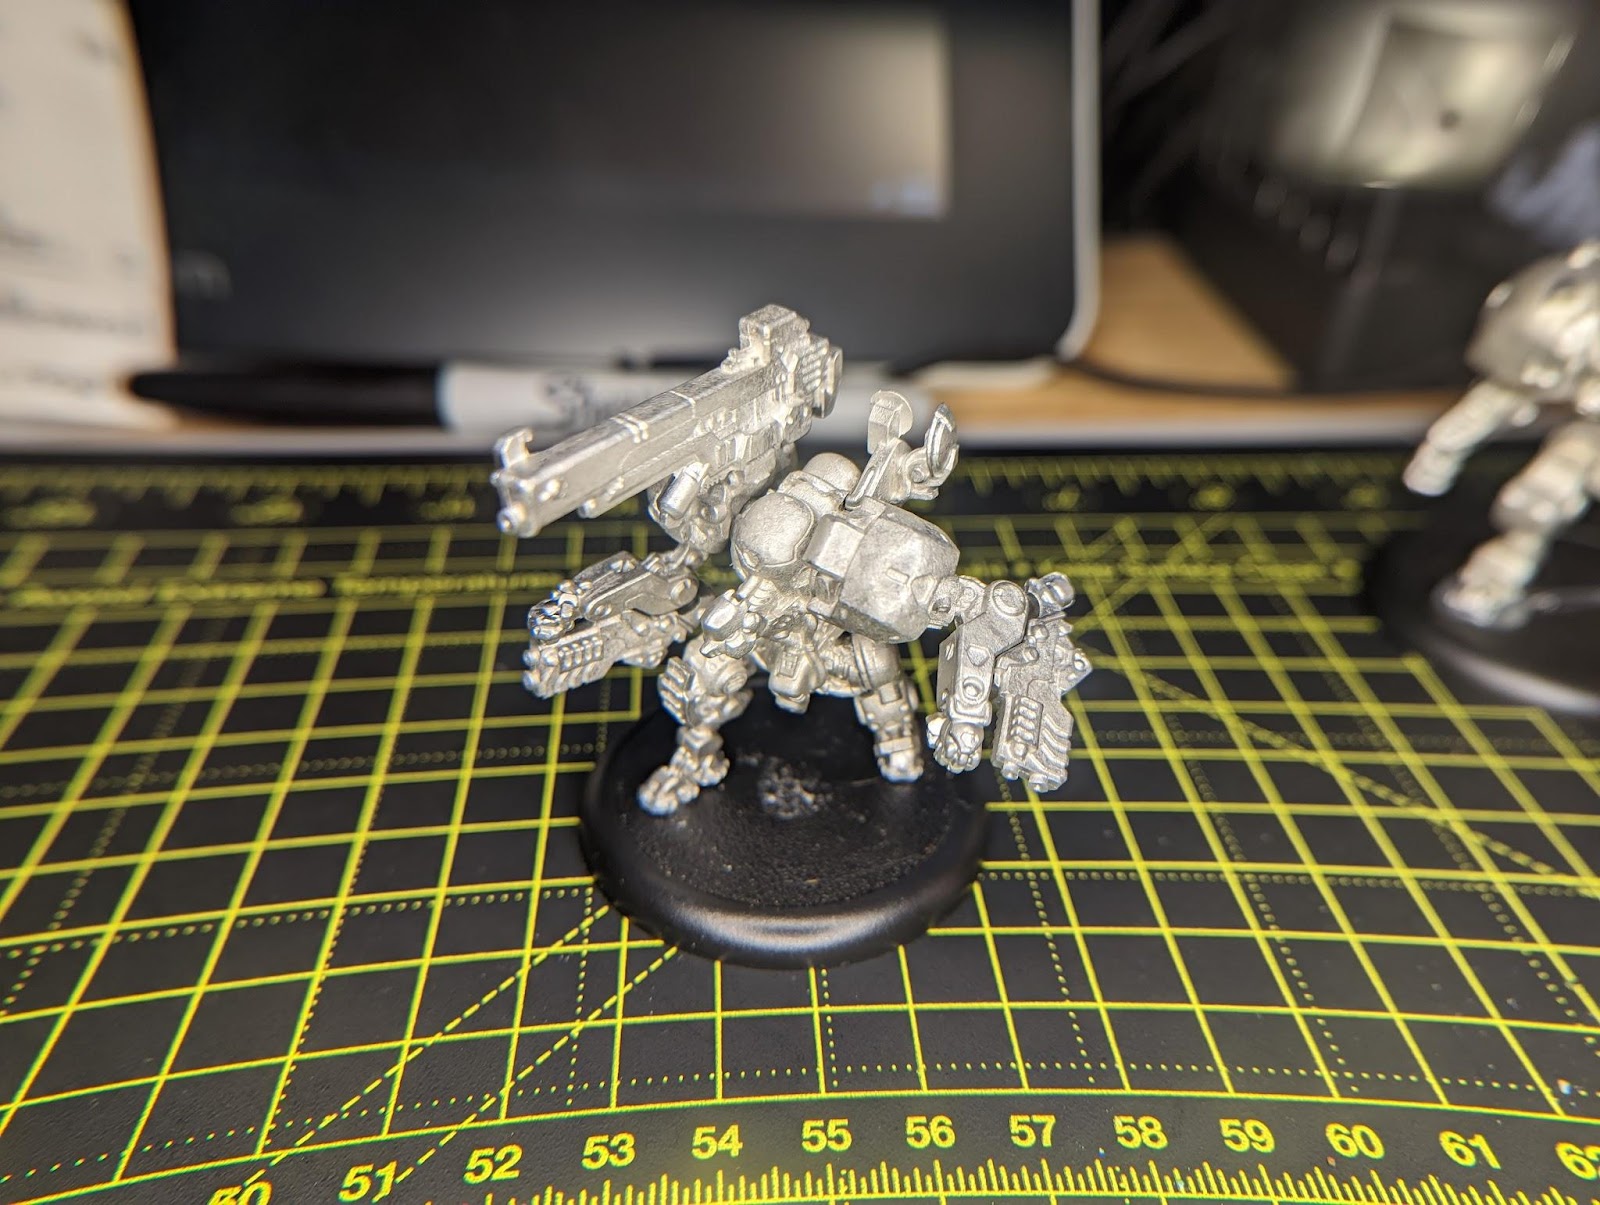
I proceed from here to do the same with the body of the ‘jack and weapons while maintaining proper polarity. The process runs very much the same for the body: Mount the part, punch the starter dent, drill the hole, align the magnet polarity, and glue the magnet in. As such I can then swap out whatever I decide to run that game, and I can always be blasting whatever faces me with the right tool for the job!
Happy magnetizing!
Great article!
I have had good success with magnetizing my warjacks to date, but I still found helpful tips to improve my craft further.
I also mark my magnets to make sure I glue them in place with the correct polarity, also marking them with black marker so that I know that side needs to face inward. From there I glue that in place and then make sure those magnets will match polarity with it, again marking the side that will ultimately be glued into the holes I drill.
For my initial polarity I made a “master polarity magnet” by adding a magnet into base, then using that to start all my later magnets. This master magnet has made sure I am always starting a new model’s magnets off with the same polarity I have been using from the start, which is especially helpful in Warcaster since weapons can be swapped between jacks.
Good tip on marking the magnets! I do something similar with my magnet tool’s band so in that sense I guess it’s my master magnet? But having an individual master magnet and marking the polarity on the magnets themselves is a great idea!