Hey all. I recently posted an Extreme Scourge conversion, and would love to see other people showing off conversions of Warcaster and WarMachine models. Mk4 and warcaster don’t have extremes yet, but no reason you can’t make your own. Below are a few quick guides – there are a lot of ways you can achieve the same thing in converting, so don’t worry if you can’t do it exactly the same way. If any of this inspires you to convert big and small, I’d love to see more extremes!
Concept
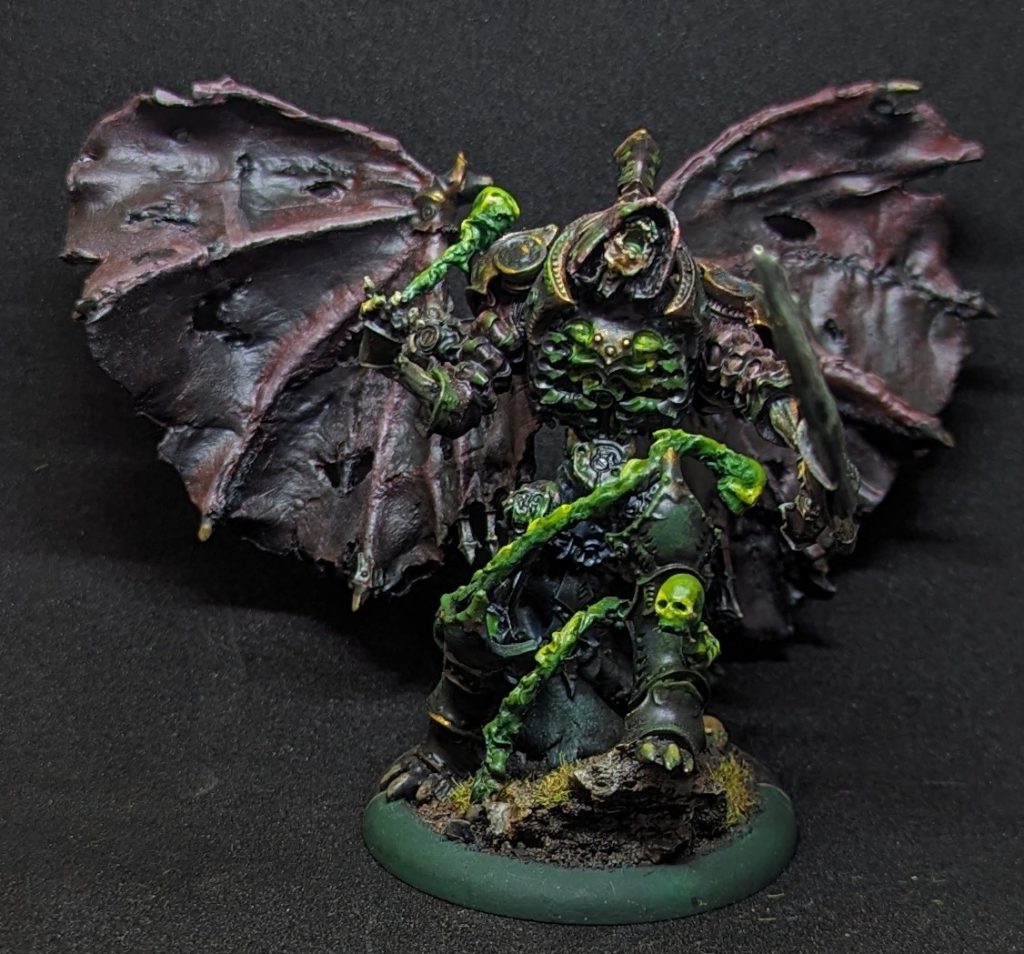
The first step is a wacky enough idea to excite you. From there, work out the pose, as it is hard to change later. An extreme variant needs you to work out what you want to emphasize, and oversize those elements. I wanted
- A brutal melee monster to represent the scourge
- A casual but dramatic pose
- The weapons in particular should be oversized – the Claw, Hollowphage and Force Rod are all iconic weapons and should be the focus
- Some sort of gore effects
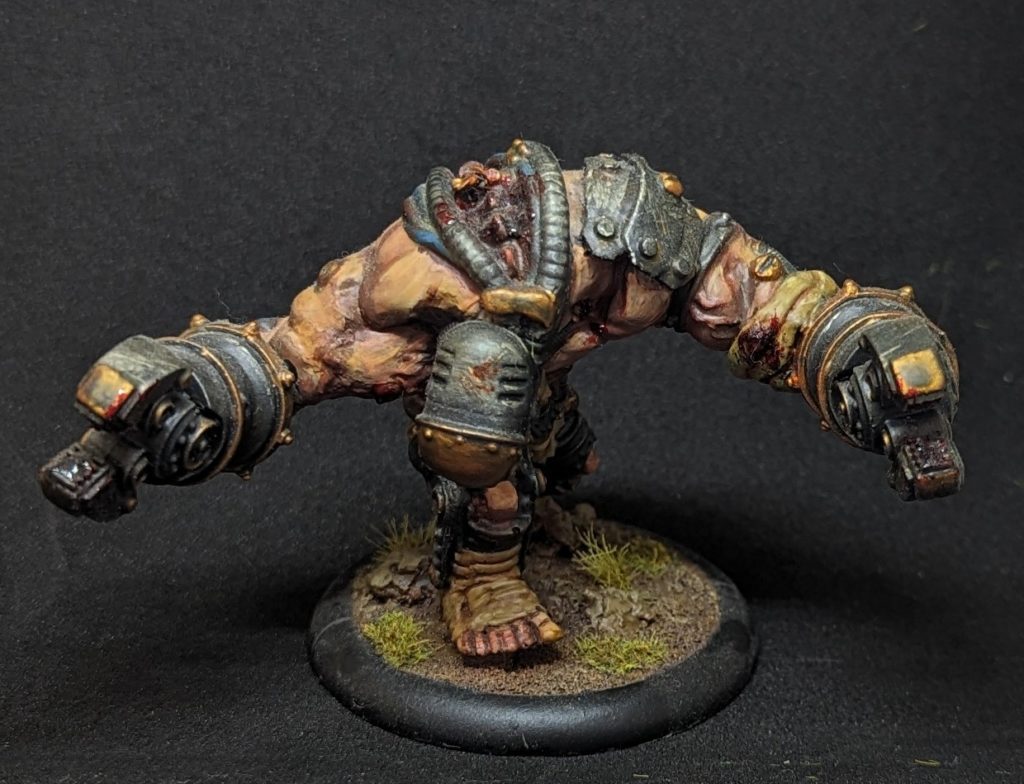
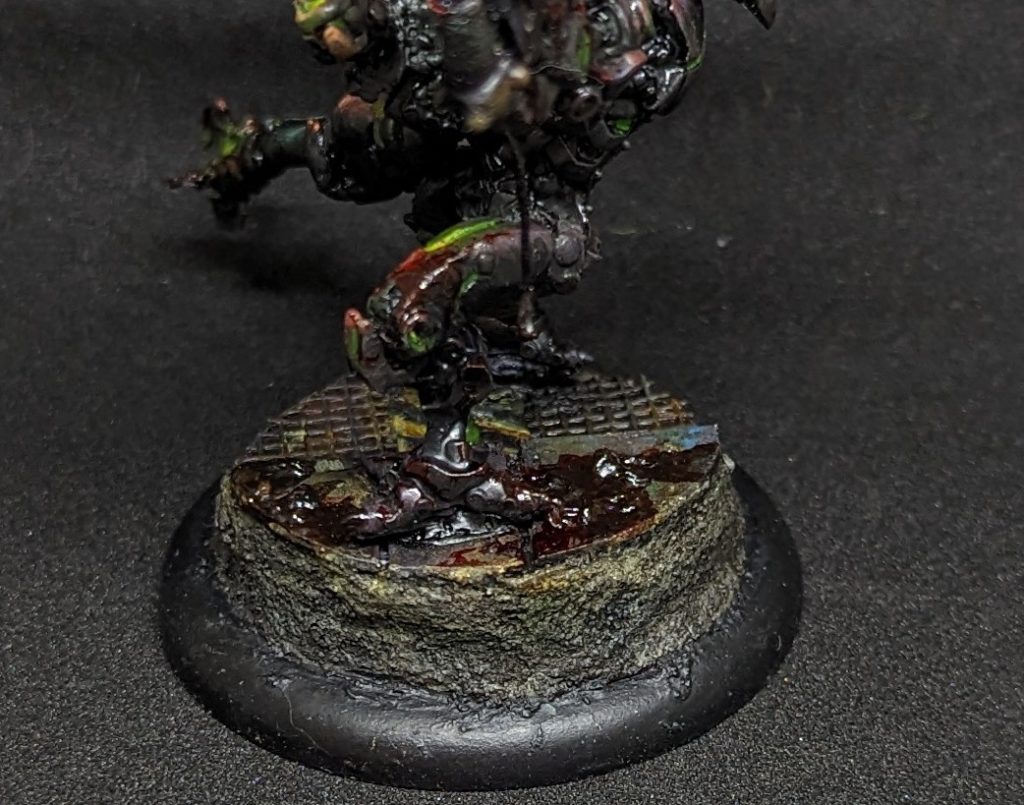
I settled on a ‘gladiatorial’ stance – post combat admiring his bloody claw. This also developed an interesting diagonal line with most of the action along the force rod, through the head, and up to the Claw. The legs straddling the ledge also added to the height and diagonal line. The base quickly settled to a drain through an industrial setting.

Pose
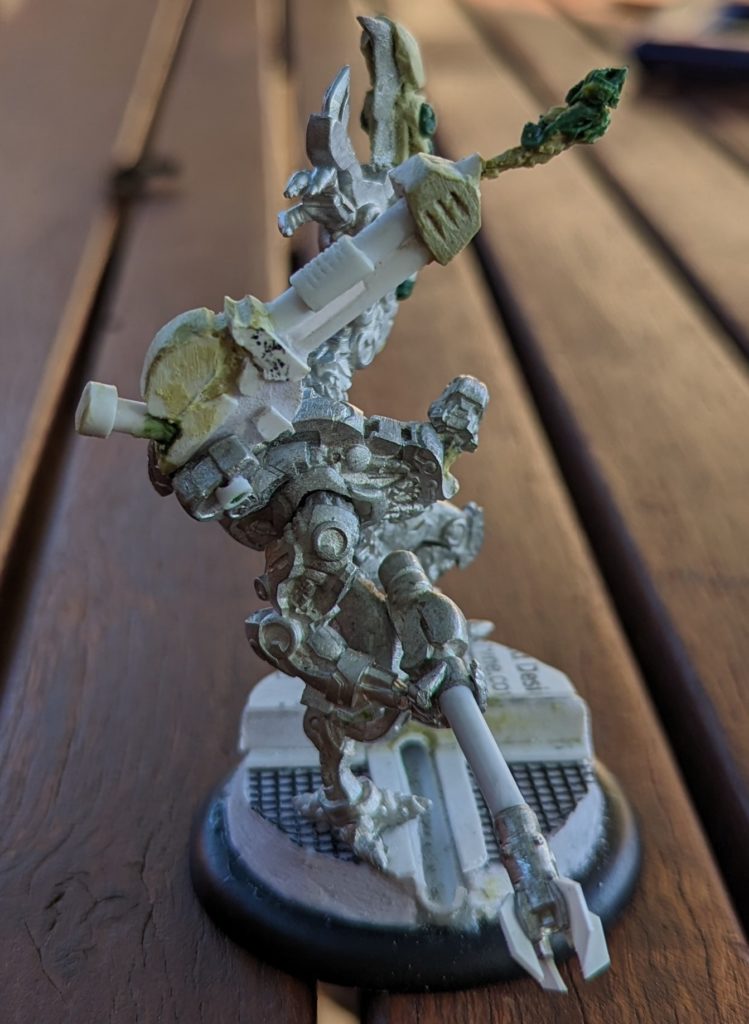
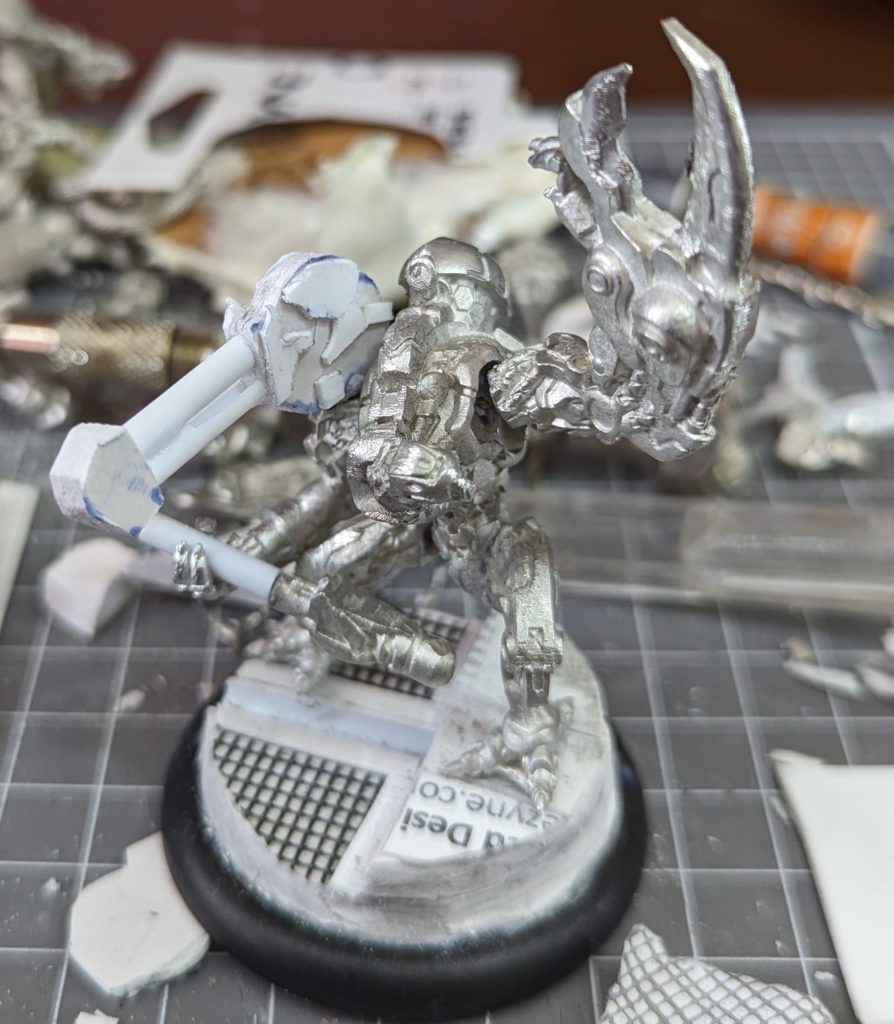
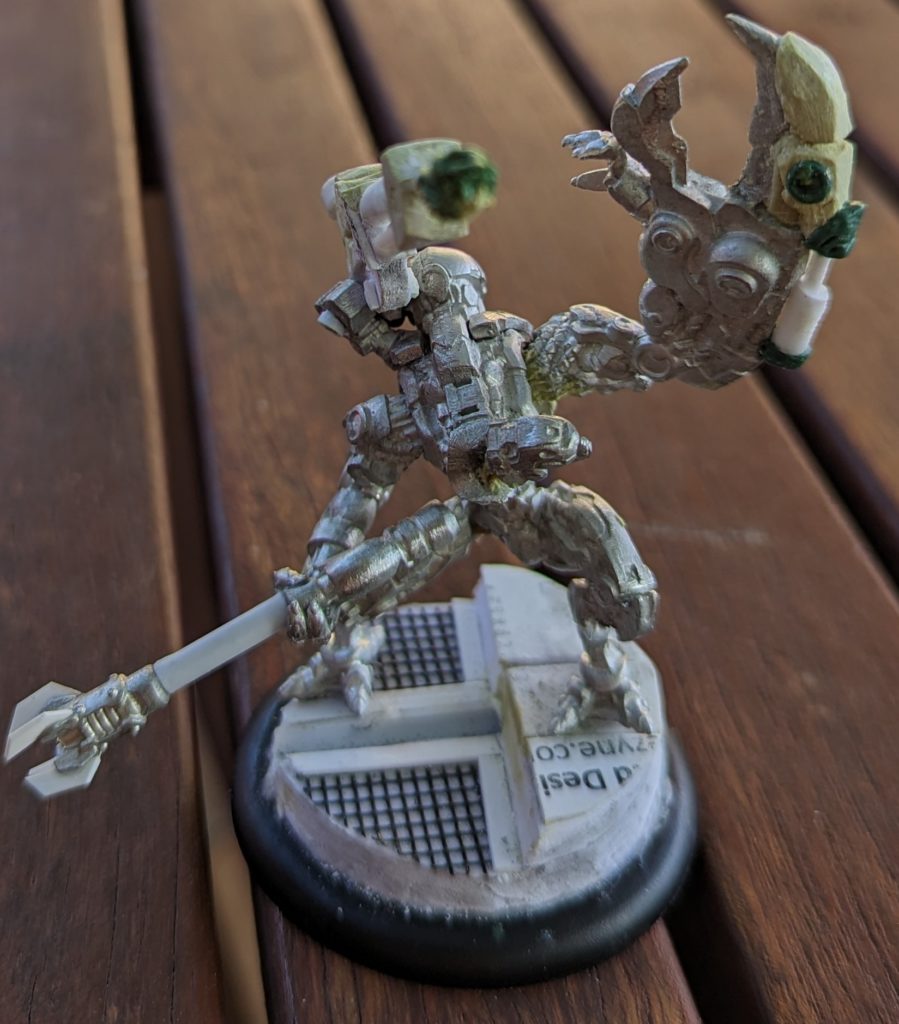
To get the pose, mostly it is about pinning the main joints with longer than usual pins, bending them to get into the desired shape, and doing a lot of dry fits. I start with the hips, as they are the hardest to get right: subtle twists can change the vibe and feeling of balance.
Where knees and elbows are wrong, metal models can be bent with needle nose pliers – just wrap the piece in a cloth to protect the metal from being scarred by the pliers). If they are too thick or made of the newer printed resin, they can be cut with a hacksaw, then pinned and glued. Once the pose is right, use green stuff to fill any gaps – this is common where you’ve had to hacksaw or made major bends. Just try to match the texture, or sometimes it is easier to add something to cover the joint (an extra armour plate, piston, tentacle or wire)
This step takes a bit of fiddling, but worth getting it right before moving on with the weapons.
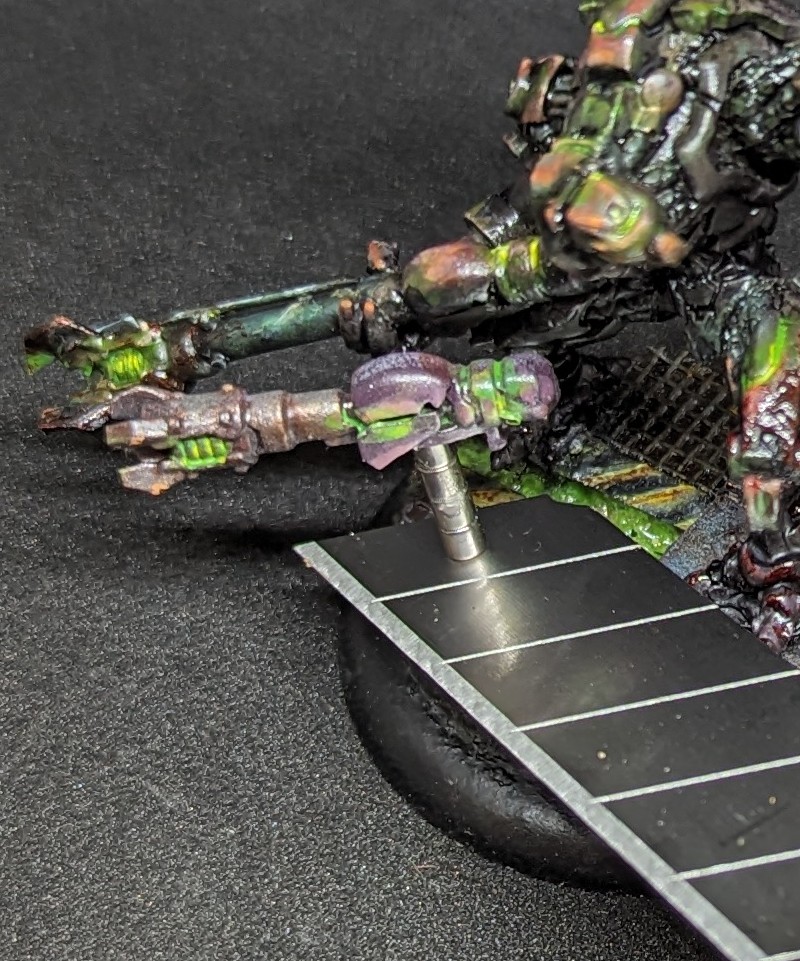
Force Rod – Extended weapon
The original force rod is a short thing attached to the back of the right wrist. To emphasize the casual brutality and make it look more like a rod, I wanted a long club-like weapon held in his hand. Steps I took: don’t take this as a ‘how to’, just some ideas of some techniques.
- hacksaw the ‘crown’ section from the wrist mount
- drill a hole in each end
- insert brass rod slightly longer than the length of the haft (it might have been a cheap drill bit for extra stiffness). This will extend into the ‘handle’ and ‘head’ sections for strength.
- I covered the pin with hollow plasticard rod for more thickness
- When happy with length, glue into each pin, and glue the hollow rod in place
- I glued a very narrow thin plasticard rod along the haft for a bit of flair: looking like a wire or support.
- I also put some small pieces of plasticard on the end of the head, to extend the crown shape and make it just a little bigger.
- When the weapon was finished, I used my pliers to bend the fingers around the grip (which was originally the wrist mount).
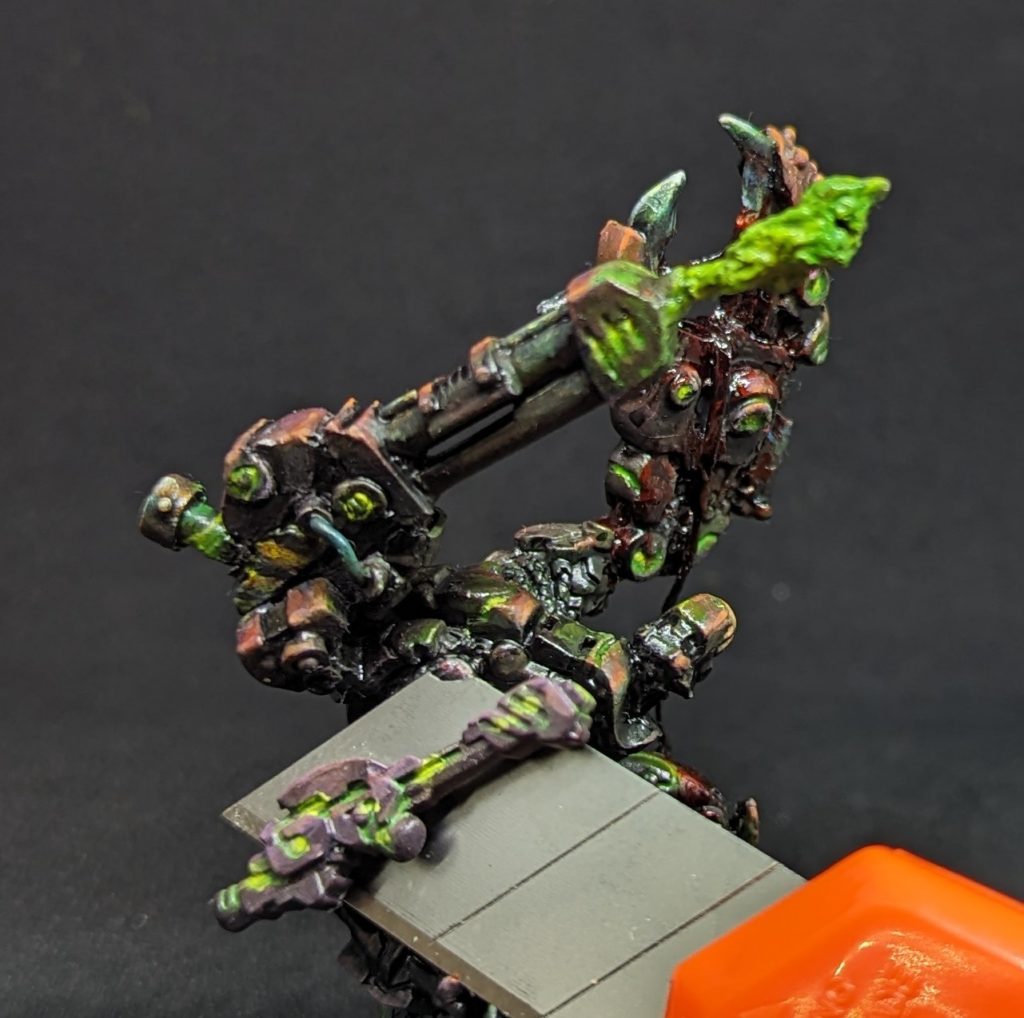
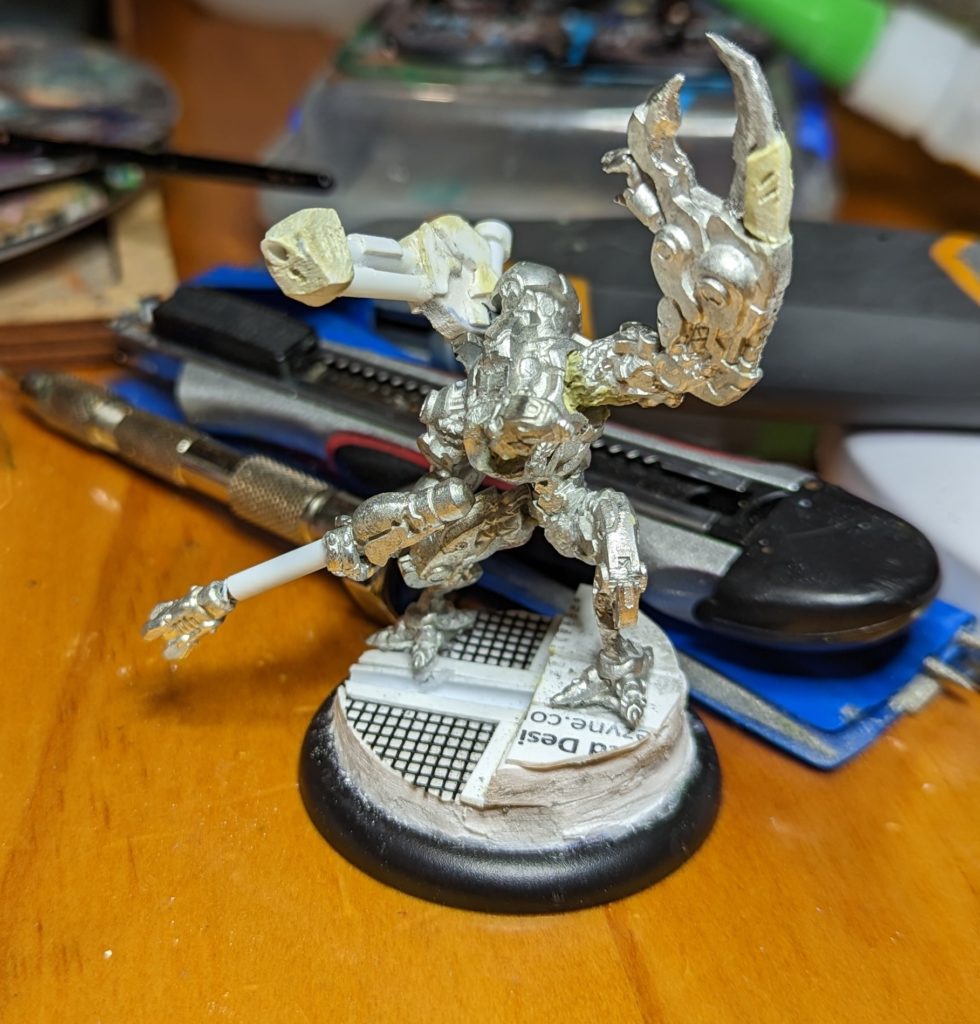
Hollowphage Cannon
This was a scratch build – below is rough guide, but it won’t be exact. Just take it step by step, building more plates from inside out.
- I used the shape of a vehicle hollowphage as inspiration for general shape- it is chunkier looking but still not as big as I wanted.
- A thick piece of plastic cut to the rough shape was the ‘core’.
- From there, I cut plasticard into plates to build up the shape. Just keep going with more plates on plates until the complexity started to look like something.
- The ‘barrels’ were hollow rods of plasticard, with a chunk cut from one to give an interesting shape
- The head of the hollowphage was another chunk of plastic. The vents on the side were cut into a layer of milliput – I did try using thin plates of plasticard but couldn’t quite get the effect I wanted, and the extra thickness didn’t work for me.
- The stream of acid was a core of wire, with green stuff swirls. Like all green stuff work, start simple, I had a couple of sausages of green stuff wrapped around the wire while wet, then added cuts with a scalpel shape and started twisting more.
- I wanted an ‘acid canister’ at the top. This was just 2 pieces of plasticard rod – a thicker hollow rod at the end to add a flanged look, then a few rivets for some detail.

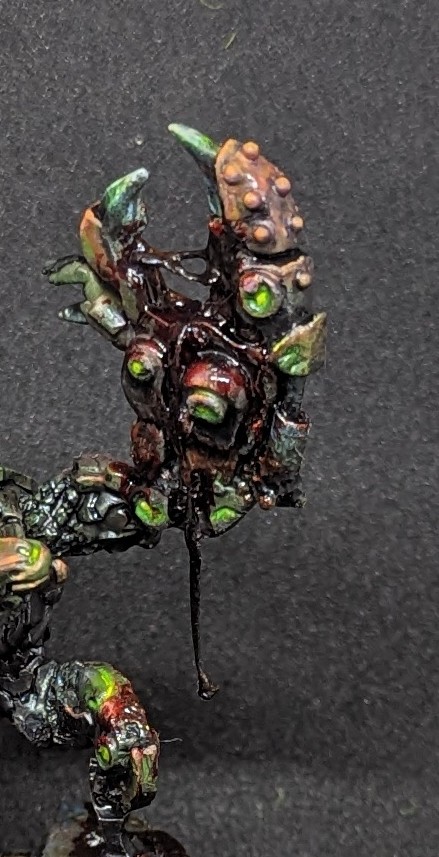
The Claw and Gore
I wanted to add bulk: armour plates on armour plates. Again, this is a lot of simpler techniques layered on top of each other to look more complicated
- Armour plates were mostly milliput. Just do one plate (or part plate – especially if you’re adding filligree or more detail) at a time, let it dry before continuing.
- For a milliput plate: mix it, roll it flat on a cutting board, trim it to a rough shape with a sharp blade, then pick up and stick on the model. You then use a scalpel knife or tool to push it gently, and flatten the outside. Once dry, you’ll often need to file to get it flat or sharp edged.
Green Stuff works too: I find it is better for soft organic shapes. It doesn’t take flat shapes as well, as it retains some springiness and can be harder to file compared to milliput. I’ve heard people have success mixing milliput and green stuff, but never tried myself. If you have more patience than me, plasticard can also be used, but I struggle to get clean enough cuts in the right shape.
For the Gore, there are 3 techniques: the stringiness between the claw, the blood itself, and the thick chunks on the base.
- The stringy bit between the claw and dripping. This was based on a ‘filament’ made from melted blister pack plastic (or any similar plastic), melted and stretched to be thinner and rounder
- Cut a thin sliver of clear plastic
- Grip it between 2 sets of pliers
- Use a BBQ lighter to gently melt the plastic
- Once it is softened, stretch it out gently
- You should have a filament of plastic between a thicker section. I trimmed most of it down to fit between the claws
- I did something similar to trail a piece of plastic down the arm, bending it over the claw while softened. This gives the long drip of blood falling down
- You can use a similar effect for any transparent special effects: icicles, water, oozes
- The blood colour is Tamiya Clear Acrylic red paint. This stuff is magic for gore effects: it dries glassy and wet looking, and goes almost congealed as it dries on the palette.
- For wet blood: I mix it with a little black paint, and smear it on with a brush. If you are using a matt varnish, do the blood after varnish, since a lot of the effect comes from the glossiness of the blood. This scourge is one of the bloodiest models I’ve done: lots of wet blood trickling down the arm, and caked onto the filaments of plastic to give it some thickness
- For older blood: put it on the palette, mix it with black. Let it sit on the palette for a while and it starts to thicken in clumps: looking clotted. I often apply in streaks on weapons with a toothpick (rather than a paintbrush): it smears and clumps unpredictably and looks a bit gross.
- The thick gore on the base is the same Tamiya paint mixed with some thick water effects paste. There’s probably other pastes you could try (even old glue) – I just wanted something that I could build up in chunks to add some piles of blood and other innards.
Conclusion
Above are just some techniques to try for converting your own models. A lot of these you can learn as you go: start simple with a single armour plate or weapon extension and go from there. New techniques come as you practise, but a lot of the best effects are made by layering a few simple techniques together.
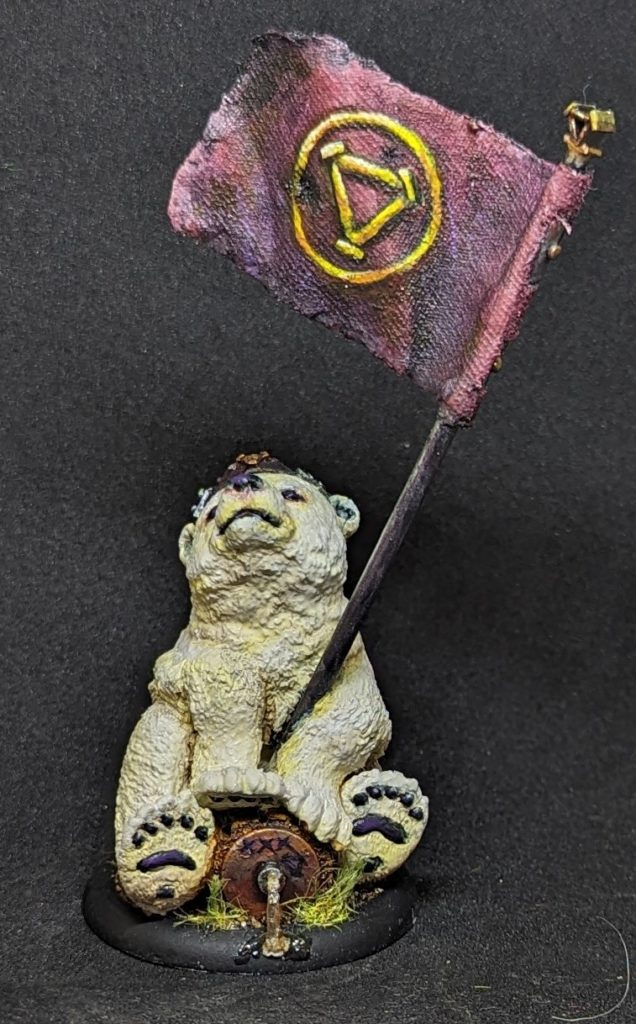
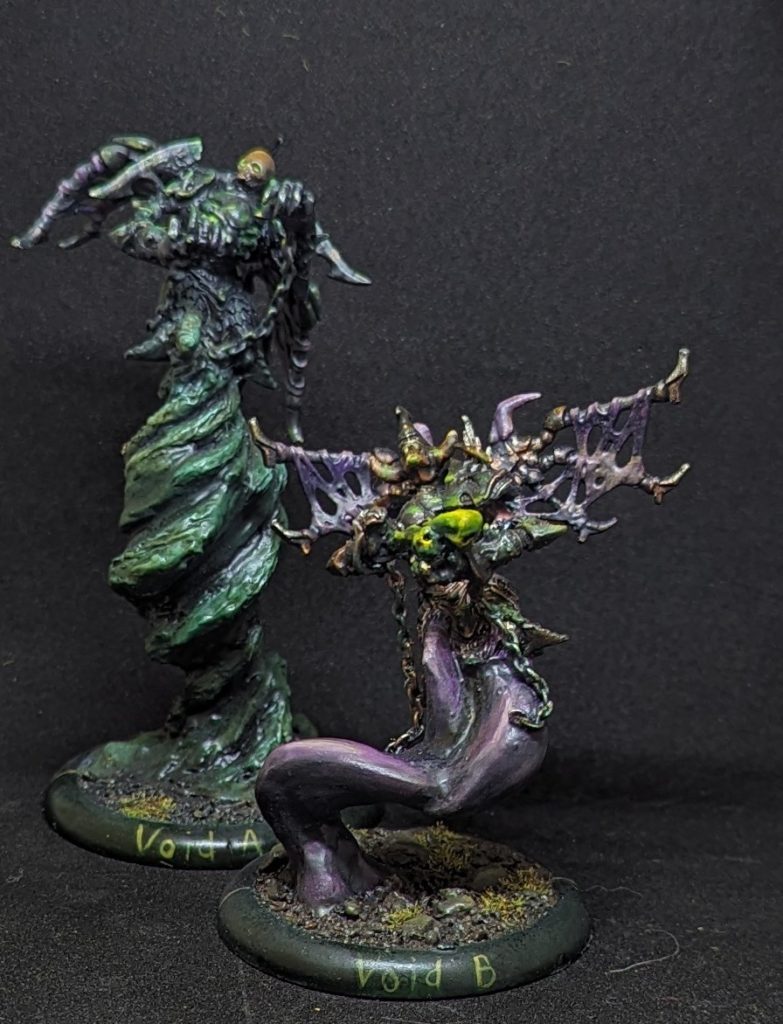
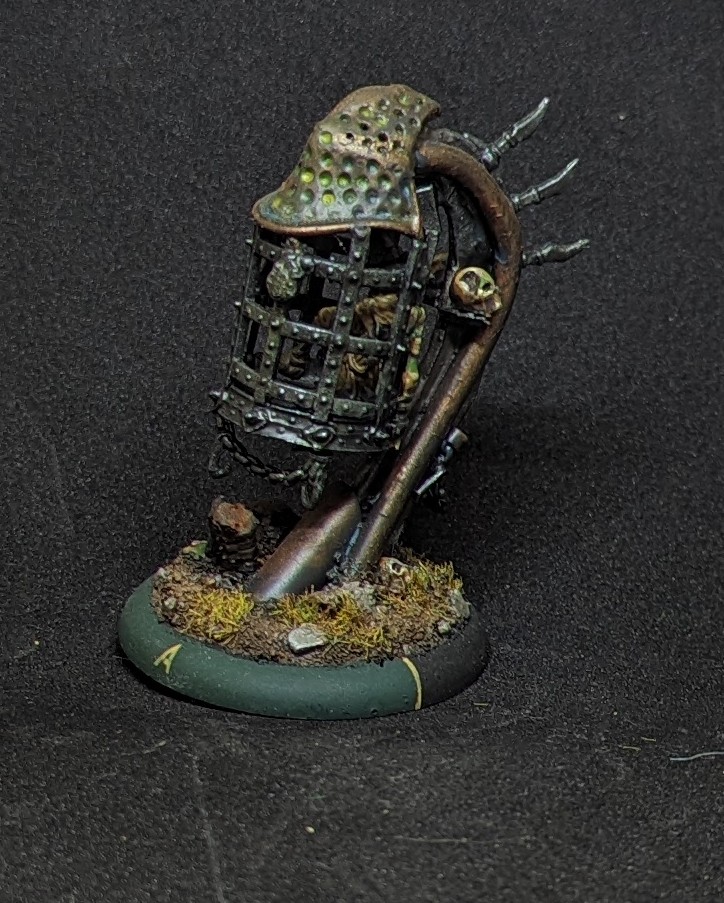
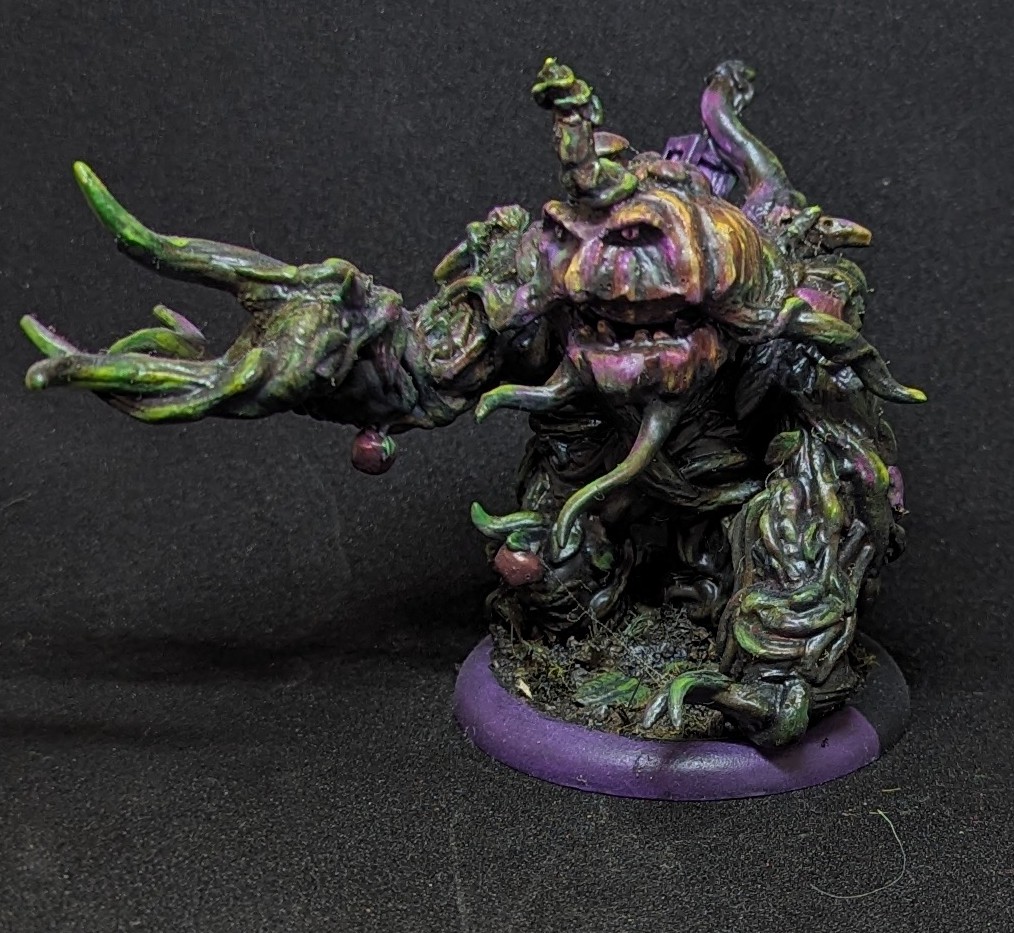
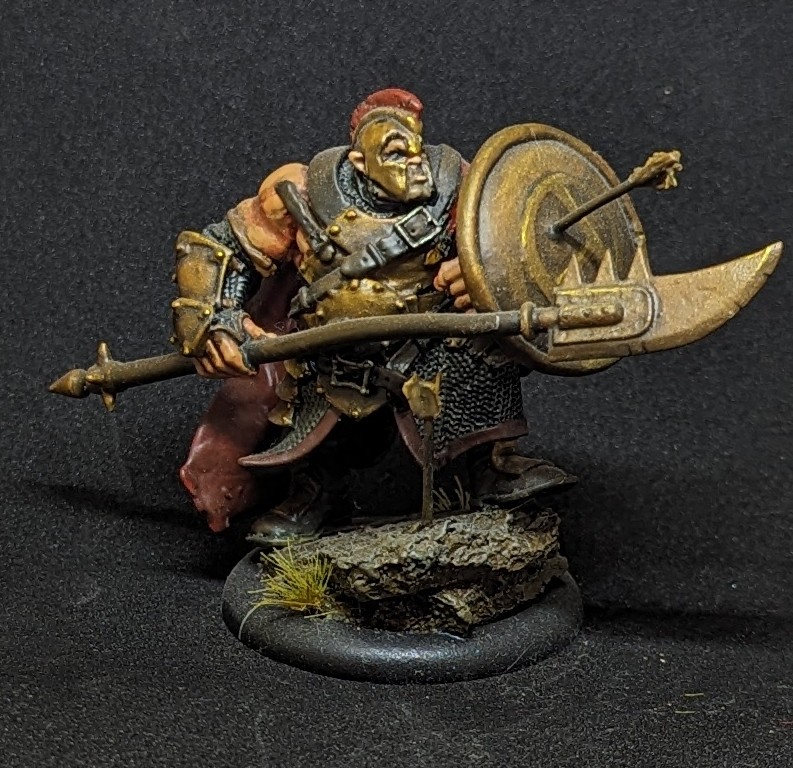
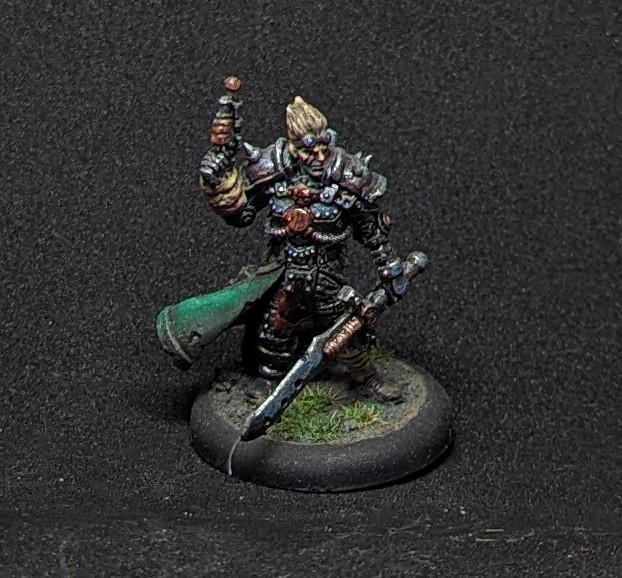
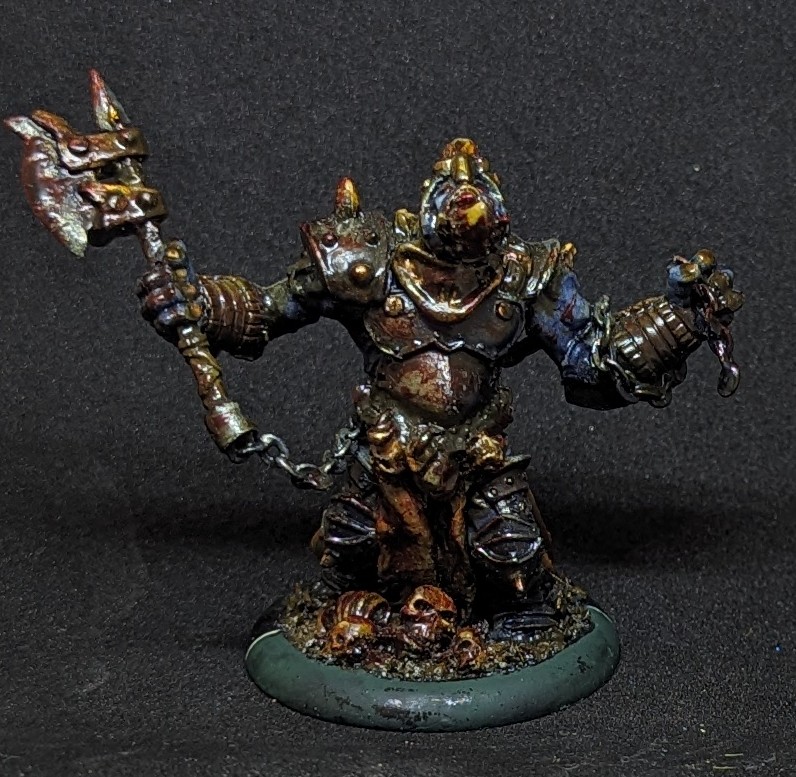
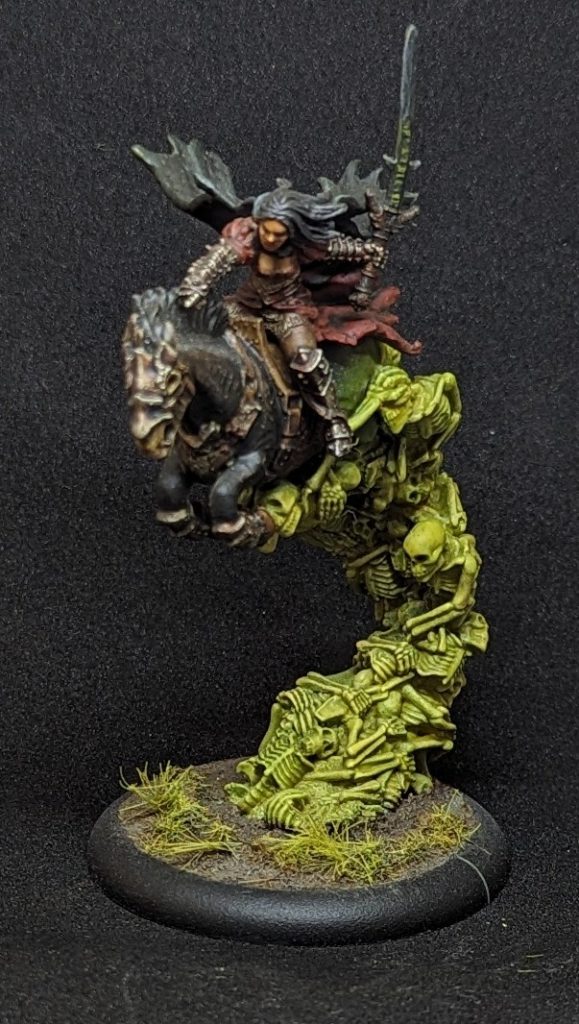
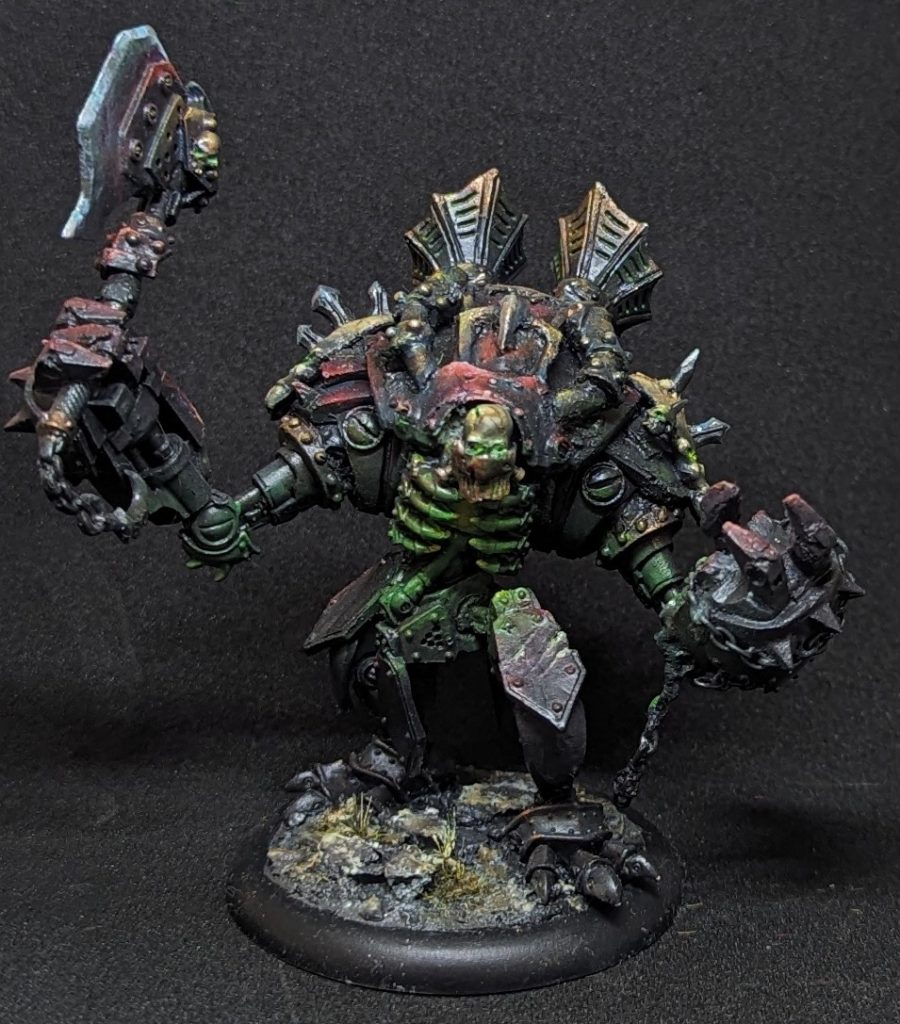
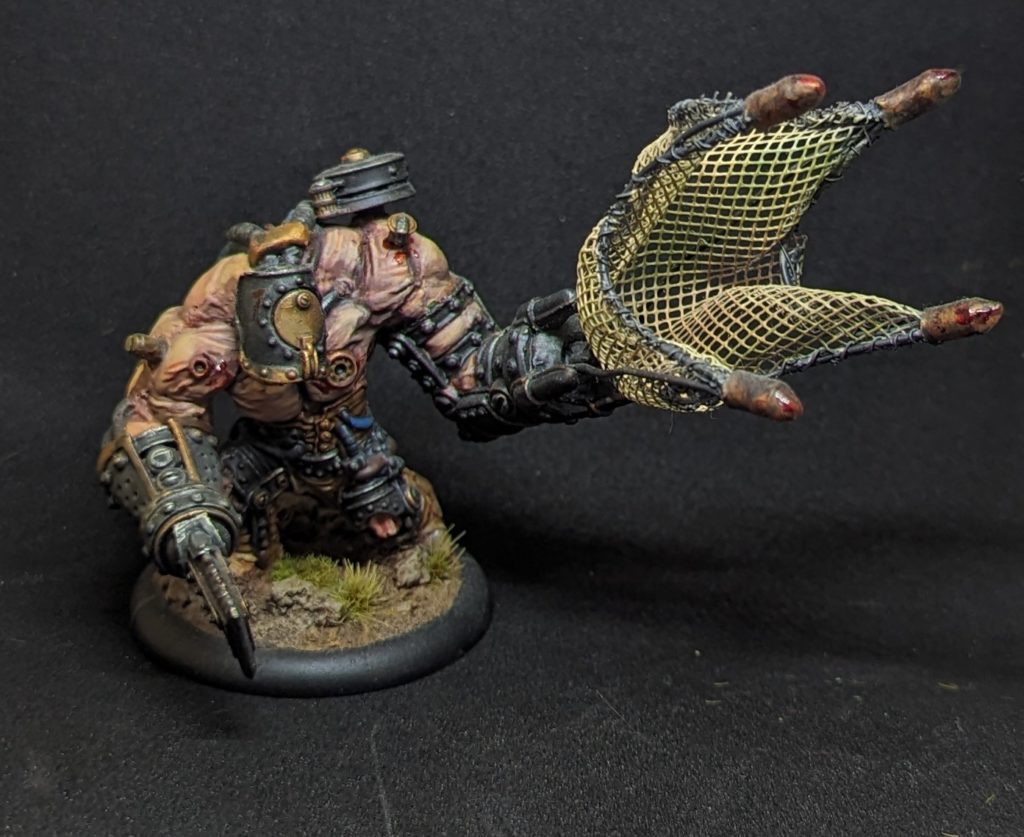
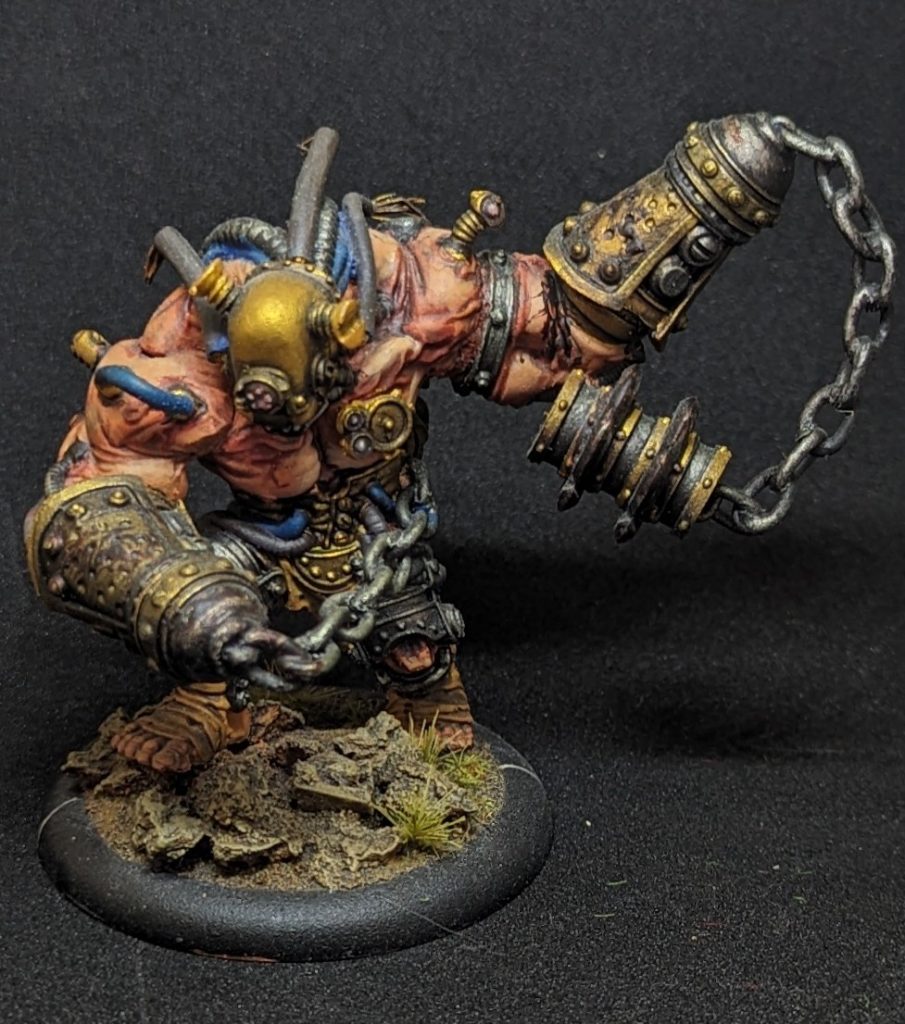
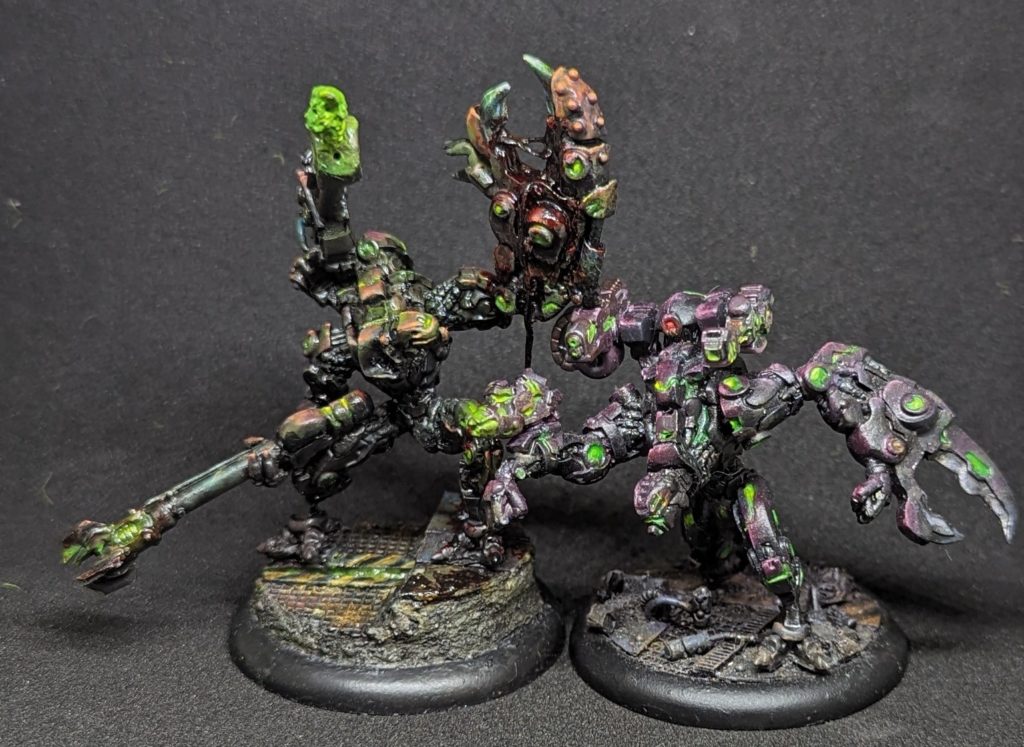
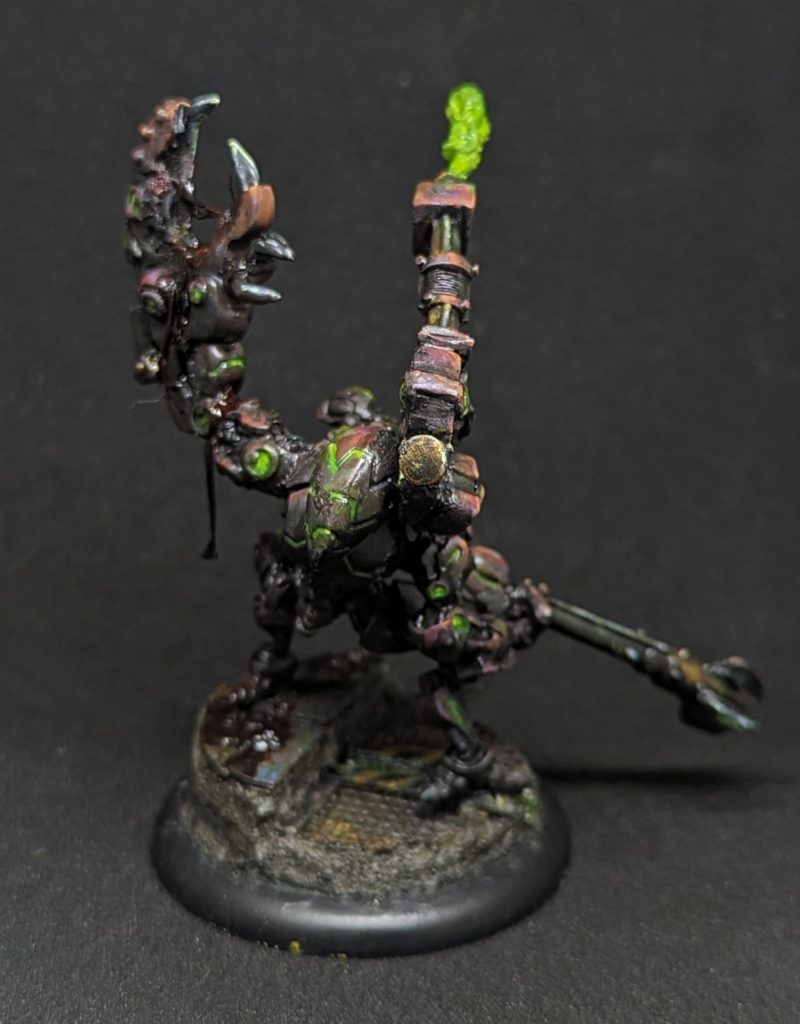
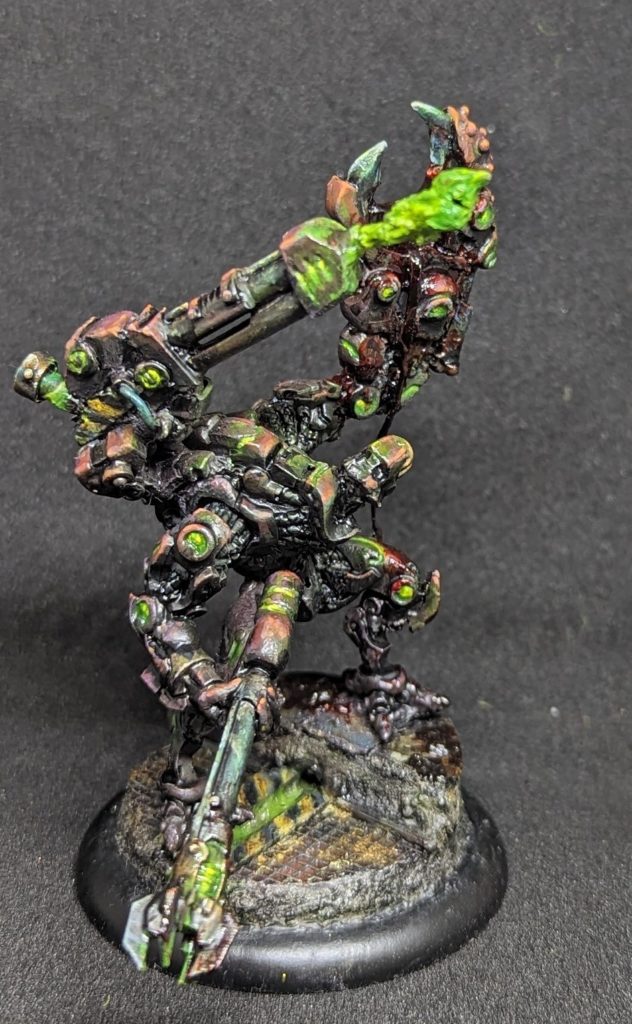
I love kitbashing PP models. It’s not something that I see a lot of, and it doesn’t always work out, but the creativity is so fun. Below are a variety of conversions over my 13 years of war machine. Some are simpler: the monstrosities are mostly small reposes with some bits added, and Steelhead Stryker was just adding a whole lot of battle damage to show his tougher life. Some like General Slaughterborn,the archons, Karchev are basically scratch builds: starting with a completely different model. As an example concept: my Void and primal archons are just about fitting my factions better.
I would love to see anyone elses conversions great and small! The first step is having a wacky enough idea to get you excited 🙂